Conquer the Mud, Not Your Car: A Comprehensive Guide to Cleaning After Off-Road Adventures
Off-roading is an exhilarating experience, a chance to escape the confines of paved roads and immerse yourself in the raw beauty of nature. However, the thrill of navigating rugged terrain often leaves your vehicle coated in mud, dust, and grime. Neglecting this post-adventure cleanup can lead to long-term damage, decreased performance, and a less-than-appealing ride. This comprehensive guide will walk you through the essential steps to thoroughly clean your car after off-roading, ensuring it’s ready for the next adventure or a smooth ride back into city life.
Why Cleaning After Off-Roading Matters
Before diving into the how-to, let’s understand why post-off-road cleaning is so crucial:
-
Preventing Rust and Corrosion: Mud, especially when mixed with salt (common in coastal or winter environments), can accelerate rust and corrosion. Trapped moisture can linger in crevices and undercarriage components, leading to costly damage over time.
-
Protecting Paint: Mud and debris can scratch and dull your vehicle’s paint. Tree branches, rocks, and other obstacles encountered off-road can also leave scratches. A thorough cleaning and protective wax can help prevent further damage.
-
Maintaining Performance: Mud and debris can clog air filters, radiators, and brake components, leading to decreased engine performance, overheating, and compromised braking.
-
Preserving Interior: Mud and dirt tracked inside can stain carpets, damage upholstery, and create an unpleasant odor. Regular cleaning will keep your interior looking and smelling fresh.
-
Ensuring Visibility: Mud splattered on windows and mirrors can significantly reduce visibility, posing a safety hazard. Clean windows and mirrors are essential for safe driving.
-
Maintaining Resale Value: A well-maintained vehicle retains its value. Regular cleaning and maintenance will demonstrate that you care for your car, increasing its appeal to potential buyers.
The Essential Tools
Gather these tools before you begin:
-
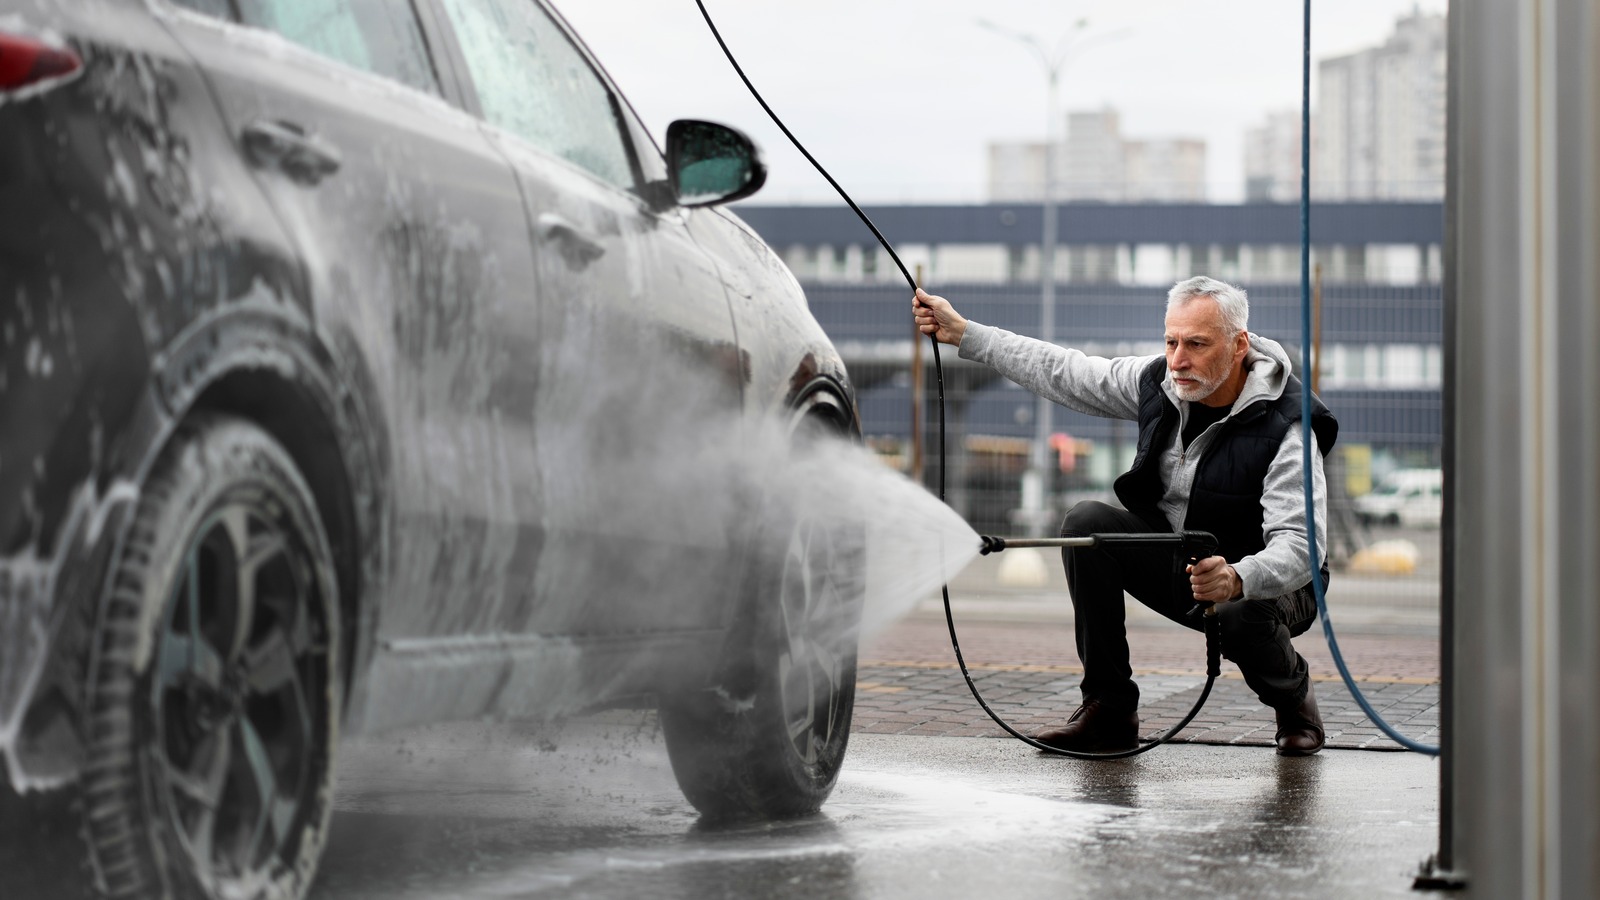
Pressure Washer (Optional but Recommended): A pressure washer makes quick work of removing caked-on mud and debris. If you don’t have one, a garden hose with a high-pressure nozzle will suffice.
-
Garden Hose: Essential for rinsing and soaking.
-
Multiple Buckets: One for soapy water, one for rinsing.
-
Car Wash Soap: Use a pH-balanced car wash soap specifically designed for automotive finishes. Avoid household detergents, as they can strip wax and damage paint.
-
Wheel Cleaner: Choose a wheel cleaner that is safe for your wheel type (alloy, chrome, etc.).
-
Tire Cleaner/Shine: For cleaning and dressing your tires.
-
Wash Mitts or Sponges: Use separate mitts/sponges for the body, wheels, and undercarriage to prevent cross-contamination.
-
Wheel Brushes: A variety of brushes for cleaning wheels, tires, and hard-to-reach areas.
-
Microfiber Towels: Soft microfiber towels are ideal for drying and polishing.
-
Interior Cleaner: Use a cleaner designed for your interior surfaces (vinyl, leather, fabric).
-
Vacuum Cleaner: A shop vacuum with attachments is best for removing dirt and debris from carpets and upholstery.
-
Window Cleaner: A streak-free window cleaner for cleaning interior and exterior glass.
-
Rubber Gloves: Protect your hands from harsh chemicals and dirt.
-
Eye Protection: Protect your eyes from splashes.
-
Detailing Brushes: Small brushes for cleaning vents, seams, and other tight spots.
The Cleaning Process: Step-by-Step
-
Pre-Rinse: Before applying any soap, thoroughly rinse your entire vehicle with a pressure washer or garden hose. Focus on removing loose mud, dirt, and debris from the body, undercarriage, wheels, and wheel wells. Pay special attention to areas where mud tends to accumulate, such as behind the wheels, along the rocker panels, and in the engine bay (if accessible).
-
Wheel and Tire Cleaning:
- Apply wheel cleaner to your wheels, following the product’s instructions. Let it dwell for the recommended time to loosen brake dust and grime.
- Use a wheel brush to scrub the wheels thoroughly, paying attention to the lug nuts, spokes, and any intricate details.
- Rinse the wheels completely.
- Apply tire cleaner to your tires, scrubbing to remove dirt and grime.
- Rinse the tires.
- Apply tire shine to give your tires a clean, glossy finish (optional).
-
Body Wash:
- Fill one bucket with clean water and car wash soap, following the product’s instructions.
- Fill the second bucket with clean water for rinsing your wash mitt.
- Dip your wash mitt into the soapy water and gently wash the vehicle, starting from the top and working your way down. Use a separate mitt for the lower areas of the vehicle, which tend to be dirtier.
- Rinse your wash mitt frequently in the rinse bucket to remove dirt and prevent scratching.
- Wash the entire vehicle in sections, rinsing each section thoroughly with the pressure washer or garden hose before moving on to the next.
-
Undercarriage Cleaning:
- This is arguably the most important step, as the undercarriage is most susceptible to rust and corrosion.
- Use a pressure washer with an undercarriage attachment (if available) to thoroughly blast away mud and debris from the undercarriage. If you don’t have an attachment, use a high-pressure nozzle and work your way around the vehicle, paying attention to suspension components, frame rails, exhaust system, and brake lines.
- Consider using an undercarriage cleaner specifically designed to remove road salt and grime.
- Rinse thoroughly.
-
Drying:
- Use clean microfiber towels to dry the vehicle. Start from the top and work your way down, patting the surface dry rather than wiping to avoid scratching.
- Use a separate towel for the wheels and tires.
- Consider using a leaf blower or compressed air to blow water out of crevices and hard-to-reach areas.
-
Interior Cleaning:
- Remove floor mats and shake them out or vacuum them.
- Vacuum the entire interior, paying attention to carpets, upholstery, seats, and crevices. Use a crevice tool to reach tight spots.
- Wipe down all interior surfaces with an interior cleaner, using a microfiber towel.
- Clean windows and mirrors with a streak-free window cleaner.
- Reinstall floor mats.
-
Waxing (Optional):
- Applying a coat of wax after cleaning will protect your paint from the elements and make it easier to clean in the future.
- Follow the wax manufacturer’s instructions for application.
Tips for Specific Off-Roading Scenarios
- Mud: If you’ve been driving in thick mud, consider using a degreaser on heavily soiled areas before washing.
- Sand: Sand can be abrasive, so be extra careful when washing and drying to avoid scratching.
- Saltwater: Saltwater is highly corrosive. Rinse your vehicle thoroughly with fresh water as soon as possible after exposure.
- Dust: Dust can accumulate in air filters. Consider replacing or cleaning your air filter after dusty off-road adventures.
Maintenance After Cleaning
- Inspect for Damage: After cleaning, take the opportunity to inspect your vehicle for any damage sustained during off-roading, such as scratches, dents, or damaged undercarriage components.
- Lubricate Moving Parts: Lubricate hinges, latches, and other moving parts to prevent rust and ensure smooth operation.
- Check Fluids: Check your engine oil, coolant, brake fluid, and other fluids to ensure they are at the proper levels.
Conclusion
Cleaning your car after off-roading is an essential part of vehicle ownership, especially if you frequently venture off the beaten path. By following these steps, you can protect your investment, maintain its performance, and ensure it’s ready for your next adventure. Remember, a clean car is a happy car, and a happy car makes for a more enjoyable off-roading experience.
