Reviving the Ride: A Comprehensive Guide to Replacing Suspension on Old Cars
The suspension system of a car is a marvel of engineering, silently absorbing bumps, maintaining tire contact, and ensuring a comfortable, controlled ride. On older vehicles, however, the ravages of time, mileage, and environmental factors take their toll. Worn-out suspension components can lead to a host of issues, including poor handling, uneven tire wear, unsettling noises, and a generally unpleasant driving experience.
Fortunately, replacing suspension components is a task that many experienced DIYers can tackle with the right tools, knowledge, and patience. This comprehensive guide will walk you through the process, covering everything from diagnosis to component selection and step-by-step replacement.
Part 1: Assessing the Need for Suspension Replacement
Before diving into the replacement process, it’s crucial to accurately diagnose whether your car’s suspension truly needs attention. Here are the telltale signs:
- Bouncing and Instability: Excessive bouncing after going over bumps, a "floaty" feeling, or a general lack of stability at highway speeds are classic indicators of worn shocks or struts.
- Nose Diving or Squatting: If the front of your car dips excessively when braking (nose diving) or the rear end squats dramatically during acceleration, the suspension is likely failing to control weight transfer.
- Uneven Tire Wear: Suspension issues can cause tires to wear unevenly. Look for cupping (scalloped wear), feathering (wear on one side of the tread blocks), or excessive wear on the inside or outside edges.
- Strange Noises: Clunking, rattling, or squeaking noises coming from the suspension, especially when going over bumps, are red flags.
- Leaking Shocks or Struts: If you see oil or fluid leaking from your shocks or struts, it’s a clear sign that they’re failing.
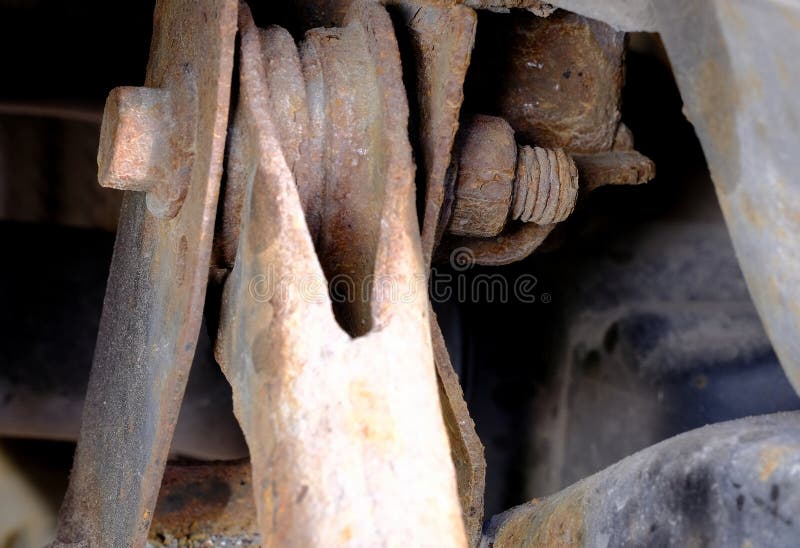
- Visible Damage: Inspect the suspension components for obvious signs of damage, such as cracked or broken springs, torn bushings, or bent control arms.
- Ride Height Issues: If your car sits noticeably lower on one side or the front/rear than it should, it could indicate a problem with the springs or other suspension components.
The Bounce Test: A simple test to assess your shock absorbers. Push down firmly on each corner of the car and release. The car should rebound once and then settle. Excessive bouncing indicates worn shocks.
Professional Inspection: If you’re unsure about the condition of your suspension, it’s always best to have a qualified mechanic inspect it. They can perform a thorough evaluation and provide you with a detailed report of any issues.
Part 2: Essential Tools and Safety Precautions
Replacing suspension components requires a specific set of tools and a strong emphasis on safety. Here’s what you’ll need:
Essential Tools:
- Jack and Jack Stands: A sturdy floor jack and a set of jack stands are essential for safely lifting and supporting the vehicle.
- Wheel Chocks: Use wheel chocks to prevent the car from rolling while it’s lifted.
- Socket Set and Wrenches: A comprehensive set of metric or SAE sockets and wrenches is needed to remove and install suspension components.
- Torque Wrench: A torque wrench is crucial for tightening fasteners to the manufacturer’s specified torque.
- Spring Compressor: A spring compressor is absolutely necessary for safely removing and installing coil springs. Never attempt to compress a coil spring without a proper compressor.
- Ball Joint Separator (Pickle Fork or Ball Joint Press): This tool is used to separate ball joints from the steering knuckle or control arm.
- Hammer: A hammer can be useful for loosening stubborn fasteners or tapping components into place.
- Penetrating Oil: Penetrating oil can help loosen rusted or corroded bolts and nuts.
- Rust Remover and Wire Brush: These tools are useful for cleaning up rusted components.
- Grease Gun: A grease gun is needed to lubricate ball joints and other suspension components.
- Alignment Tools: After replacing suspension components, you’ll need to have the car’s alignment checked and adjusted.
- Gloves and Safety Glasses: Protect your hands and eyes from dirt, grease, and potential hazards.
Safety Precautions:
- Always work on a level surface.
- Use jack stands to support the vehicle. Never work under a car supported only by a jack.
- Wear safety glasses and gloves.
- Disconnect the negative battery cable to prevent electrical shorts.
- Be extremely careful when working with coil springs. They store a tremendous amount of energy and can cause serious injury if they’re not handled properly.
- Follow the manufacturer’s instructions for all tools and components.
- If you’re not comfortable performing any of these steps, consult a qualified mechanic.
Part 3: Component Selection
Choosing the right replacement suspension components is crucial for restoring your car’s ride and handling. Here are some factors to consider:
- Quality: Opt for high-quality components from reputable brands. While cheaper parts may seem tempting, they often don’t last as long and can compromise safety.
- Type: Decide whether you want to replace your suspension with stock components or upgrade to performance-oriented parts.
- Compatibility: Ensure that the replacement components are compatible with your car’s make, model, and year.
- Kit vs. Individual Components: Consider purchasing a complete suspension kit, which includes all the necessary components, such as shocks, struts, springs, bushings, and hardware. This can save you time and money compared to buying individual parts.
- Bushings: Rubber bushings are prone to wear and deterioration. Consider replacing them with polyurethane bushings, which are more durable and offer improved handling.
- Springs: If your springs are sagging or broken, replace them with new springs that match the original specifications.
- Shocks and Struts: Choose shocks and struts that are appropriate for your driving style and needs. Options range from basic replacements to performance-oriented units.
Part 4: Step-by-Step Suspension Replacement
The specific steps for replacing suspension components will vary depending on your car’s make, model, and the specific components you’re replacing. However, here’s a general overview of the process:
- Preparation: Park the car on a level surface, engage the parking brake, and chock the rear wheels. Loosen the lug nuts on the wheels you’ll be removing.
- Lifting the Vehicle: Use a floor jack to lift the car and place jack stands under the frame rails for support.
- Removing the Wheels: Remove the wheels.
- Disconnecting Components: Disconnect any components that are attached to the suspension, such as brake lines, ABS sensors, and sway bar links.
- Removing the Old Components:
- Shocks and Struts: Unbolt the shocks or struts from the mounting points. Use a spring compressor to safely compress the coil spring before removing the strut assembly.
- Control Arms: Unbolt the control arms from the frame and steering knuckle. You may need to use a ball joint separator to disconnect the ball joint.
- Springs: If you’re replacing the springs, use a spring compressor to safely remove them from the struts or control arms.
- Installing the New Components:
- Install the new shocks, struts, control arms, springs, and bushings in the reverse order of removal.
- Use a torque wrench to tighten all fasteners to the manufacturer’s specified torque.
- Grease any grease fittings on the ball joints and other suspension components.
- Reconnecting Components: Reconnect any components that you disconnected earlier, such as brake lines, ABS sensors, and sway bar links.
- Installing the Wheels: Install the wheels and tighten the lug nuts to the manufacturer’s specified torque.
- Lowering the Vehicle: Lower the car to the ground and remove the jack stands.
- Alignment: Have the car’s alignment checked and adjusted by a qualified mechanic.
- Test Drive: Take the car for a test drive to ensure that the suspension is working properly and that there are no unusual noises or vibrations.
Important Notes:
- One Side at a Time: It’s generally recommended to replace suspension components on one side of the car at a time. This allows you to use the other side as a reference for reassembly.
- Take Pictures: Take pictures of the suspension before you start disassembling it. This can be helpful for remembering how everything goes back together.
- Label Components: Label any components that you remove to avoid confusion during reassembly.
- Consult a Repair Manual: A repair manual specific to your car’s make and model will provide detailed instructions and diagrams for replacing suspension components.
Part 5: Post-Replacement Considerations
After replacing your car’s suspension, there are a few additional things to keep in mind:
- Alignment: As mentioned earlier, it’s essential to have the car’s alignment checked and adjusted after replacing suspension components.
- Break-In Period: Allow a break-in period of a few hundred miles for the new suspension components to settle.
- Regular Inspections: Inspect your suspension regularly for any signs of wear or damage.
Conclusion:
Replacing the suspension on an old car can significantly improve its ride, handling, and safety. While it’s a challenging task, it’s one that many experienced DIYers can tackle with the right tools, knowledge, and precautions. By following the steps outlined in this guide, you can restore your car’s suspension to its former glory and enjoy a smoother, more controlled driving experience. Remember, if you’re ever unsure about any aspect of the process, consult a qualified mechanic.
