How to Install a Dashcam in Your Vehicle: A Step-by-Step Guide
Dashcams have become essential devices for modern drivers, offering a valuable layer of protection and evidence in the event of accidents, disputes, or even just capturing interesting moments on the road. Installing a dashcam might seem daunting, but with the right tools and a little patience, it’s a task most car owners can accomplish themselves. This comprehensive guide will walk you through the process, from choosing the right dashcam to setting it up for optimal performance.
Why Install a Dashcam?
Before diving into the how-to, let’s quickly cover why dashcams are so popular:
- Accident Evidence: Dashcam footage can provide crucial evidence in the event of a collision, helping to determine fault and streamline insurance claims.
- Protection Against Fraud: Dashcams can deter fraudulent insurance claims and provide proof against staged accidents.
- Peace of Mind: Knowing you have a reliable recording of your drives can offer peace of mind, especially in areas with high traffic or questionable driving behavior.
- Capturing Interesting Moments: From scenic road trips to unexpected wildlife encounters, dashcams can record memorable moments you might otherwise miss.
- Parking Surveillance: Some dashcams offer parking mode, which records incidents even when your car is parked and unattended.
Choosing the Right Dashcam
The first step is selecting a dashcam that meets your needs and budget. Here are some factors to consider:
- Video Quality: Look for dashcams that record in at least 1080p (Full HD) resolution for clear and detailed footage. 1440p (Quad HD) or 4K resolution offer even better clarity.
- Field of View: A wide-angle lens (130-170 degrees) is ideal for capturing a broad view of the road.
- Features: Consider features like GPS logging, loop recording, G-sensor (for detecting impacts), parking mode, and Wi-Fi connectivity.
- Mounting Style: Dashcams typically mount to the windshield using suction cups or adhesive mounts. Choose a style that suits your preferences and vehicle.
- Storage: Check the maximum SD card capacity supported by the dashcam and purchase a high-quality microSD card with ample storage space.
- Budget: Dashcams range in price from budget-friendly options to high-end models with advanced features. Set a budget and research models within your price range.
Tools and Materials You’ll Need
- Dashcam kit (including camera, mount, power cable)
- MicroSD card (compatible with your dashcam)
- Trim removal tool (optional, but recommended)
- Car charger or hardwire kit (depending on your preferred power source)
- Voltage tester (if hardwiring)
- Cleaning supplies (window cleaner, microfiber cloth)
- Zip ties or cable clips (for cable management)
- Patience and a little bit of time
Step-by-Step Installation Guide
-
Preparation:
- Read the dashcam’s user manual thoroughly to understand its features and installation instructions.
- Clean the area of the windshield where you plan to mount the dashcam. This will ensure a strong and secure adhesion.
- Gather all the necessary tools and materials.
- Plan your cable routing to minimize visibility and interference.
-
Mounting the Dashcam:
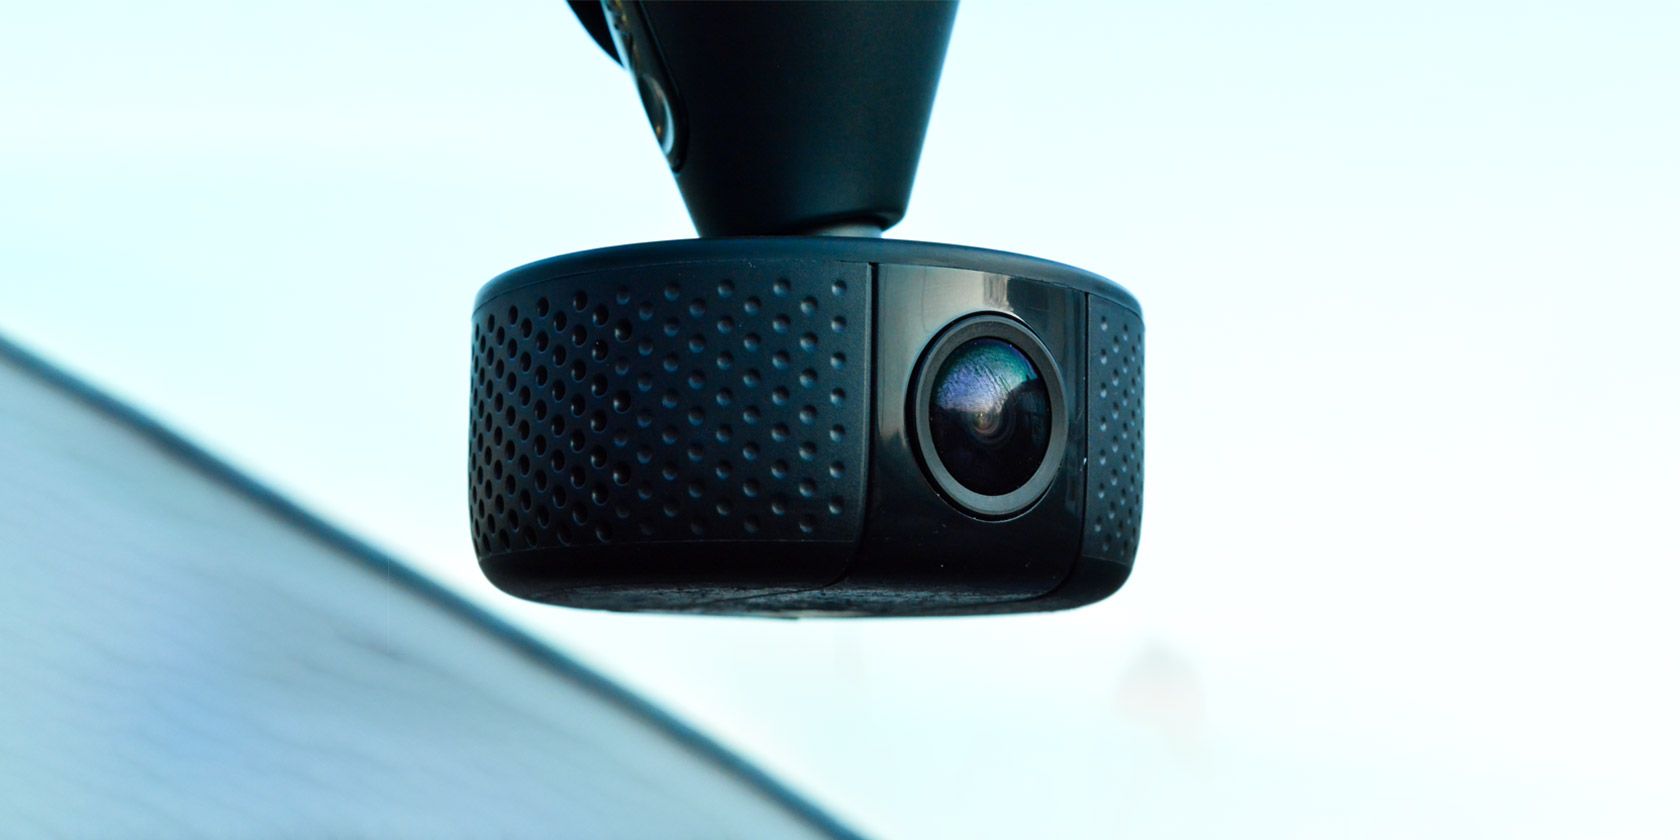
- Position the dashcam on the windshield, typically behind the rearview mirror or in a corner of the windshield.
- Ensure the camera has a clear view of the road ahead and doesn’t obstruct your vision.
- Use the provided mount (suction cup or adhesive) to attach the dashcam securely to the windshield.
- If using an adhesive mount, press firmly for several seconds to ensure a strong bond.
-
Routing the Power Cable:
- This is the most time-consuming part of the installation, but careful cable routing is essential for a clean and professional look.
- Start by plugging the power cable into the dashcam.
- Tuck the cable into the headliner (the fabric covering the roof of your car) and run it along the edge of the windshield.
- Use a trim removal tool to gently pry open the headliner and tuck the cable inside. Be careful not to damage the headliner or any wiring.
- Continue routing the cable down the A-pillar (the vertical support between the windshield and the front door).
- Again, use the trim removal tool to tuck the cable behind the A-pillar trim.
- Route the cable under the dashboard and towards the power source (cigarette lighter or fuse box).
-
Connecting the Power Source:
- Cigarette Lighter: This is the easiest option. Simply plug the power cable into the cigarette lighter socket. However, this can leave a cable dangling across your dashboard.
- Hardwiring (Recommended): Hardwiring provides a cleaner installation and can enable parking mode (if your dashcam supports it).
- Locate the fuse box in your vehicle (usually under the dashboard or in the glove compartment).
- Use a voltage tester to identify a fuse that provides power only when the ignition is on (for regular dashcam operation) and a fuse that provides constant power (for parking mode).
- Use a fuse tap (add-a-circuit) to connect the dashcam’s power cable to the selected fuses.
- Connect the ground wire to a metal bolt or screw on the car’s chassis.
-
Cable Management:
- Once the power cable is connected, use zip ties or cable clips to secure any excess cable and prevent it from dangling or interfering with your driving.
- Ensure the cable is not obstructing any pedals or other controls.
-
Setting Up the Dashcam:
- Insert the microSD card into the dashcam.
- Turn on the ignition and power on the dashcam.
- Navigate the dashcam’s menu to configure settings such as:
- Resolution
- Loop recording
- G-sensor sensitivity
- Date and time
- Wi-Fi connectivity (if applicable)
- Adjust the camera angle to ensure it captures the desired view of the road.
-
Testing and Final Adjustments:
- Take a short test drive to ensure the dashcam is recording properly.
- Review the footage to check the video quality, audio quality, and viewing angle.
- Make any necessary adjustments to the camera position or settings.
Tips for a Successful Installation
- Take Your Time: Don’t rush the installation process. Rushing can lead to mistakes or damage to your vehicle.
- Use the Right Tools: A trim removal tool can prevent damage to your car’s interior panels.
- Plan Your Cable Routing: Think about the best way to route the cable before you start.
- Secure the Cable: Use zip ties or cable clips to keep the cable out of sight and prevent it from interfering with your driving.
- Read the Manual: The dashcam’s user manual is your best resource for understanding its features and installation instructions.
- Test Before Finalizing: Always test the dashcam after installation to ensure it’s working properly.
Troubleshooting
- Dashcam Won’t Turn On: Check the power connection and fuse.
- Poor Video Quality: Clean the windshield and adjust the camera angle.
- Loop Recording Not Working: Ensure the microSD card is compatible and has enough storage space.
- Parking Mode Not Working: Verify that the dashcam is properly hardwired to a constant power source.
Conclusion
Installing a dashcam in your vehicle is a worthwhile investment that can provide valuable protection and peace of mind. By following these step-by-step instructions and taking your time, you can successfully install a dashcam and start recording your drives with confidence. Remember to consult your dashcam’s user manual for specific instructions and troubleshooting tips. Happy driving!
