How to Perform a Cooling System Flush: A Step-by-Step Guide
The cooling system is the unsung hero of your vehicle, quietly working to maintain the engine’s optimal operating temperature. Over time, coolant breaks down, accumulating rust, scale, and other contaminants. These deposits can reduce the system’s efficiency, leading to overheating, corrosion, and ultimately, costly repairs. A cooling system flush is a crucial maintenance task that removes these contaminants, restoring the system’s ability to keep your engine running smoothly and efficiently.
Why a Cooling System Flush Matters
-
Prevents Overheating: Dirty coolant loses its ability to dissipate heat effectively. A flush removes the buildup that hinders heat transfer, preventing your engine from overheating, especially during demanding conditions.
-
Protects Against Corrosion: As coolant ages, it becomes acidic and corrosive. This can damage vital components like the radiator, water pump, heater core, and engine block. A flush removes the corrosive elements and replaces them with fresh, properly formulated coolant.
-
Extends Component Lifespan: By preventing corrosion and overheating, a cooling system flush can significantly extend the lifespan of critical components. This can save you money on repairs and replacements in the long run.
-
Improves Fuel Efficiency: An efficiently operating cooling system helps the engine maintain its optimal temperature, which contributes to improved fuel efficiency.
-
Restores Coolant Effectiveness: Fresh coolant has the correct concentration of additives to prevent freezing in cold weather and boiling in hot weather.
When to Flush Your Cooling System
The recommended interval for a cooling system flush varies depending on your vehicle’s make, model, and the type of coolant used. As a general guideline:
- Conventional Coolant (Green): Every 2 years or 30,000 miles (48,000 kilometers).
- Extended Life Coolant (OAT/HOAT, typically orange, yellow, or red): Every 5 years or 100,000 miles (160,000 kilometers).
However, it’s always best to consult your vehicle’s owner’s manual for the manufacturer’s specific recommendations.
Warning Signs that Your Cooling System Needs a Flush:
- Overheating: The engine temperature gauge rises higher than normal, or the "check engine" light illuminates with an overheating code.
- Coolant Leaks: You notice coolant pooling under your vehicle.
- Discolored Coolant: The coolant appears rusty, murky, or contains sediment.
- Heater Malfunction: The heater doesn’t produce warm air, or the temperature fluctuates.
- Frequent Coolant Top-Ups: You find yourself constantly adding coolant to maintain the proper level.
Tools and Materials You’ll Need
- New Coolant: Use the correct type of coolant specified in your vehicle’s owner’s manual.
- Distilled Water: For flushing the system.
- Cooling System Flush Chemical (Optional): Use a reputable brand and follow the instructions carefully.
- Drain Pan: To catch the old coolant.
- Wrench or Socket Set: To remove the radiator drain plug or petcock.
- Funnel: For pouring coolant.
- Gloves and Eye Protection: To protect yourself from coolant, which can be harmful.
- Shop Rags or Paper Towels: For cleaning up spills.
- Jack and Jack Stands (Optional): To raise the vehicle for easier access to the drain plug.
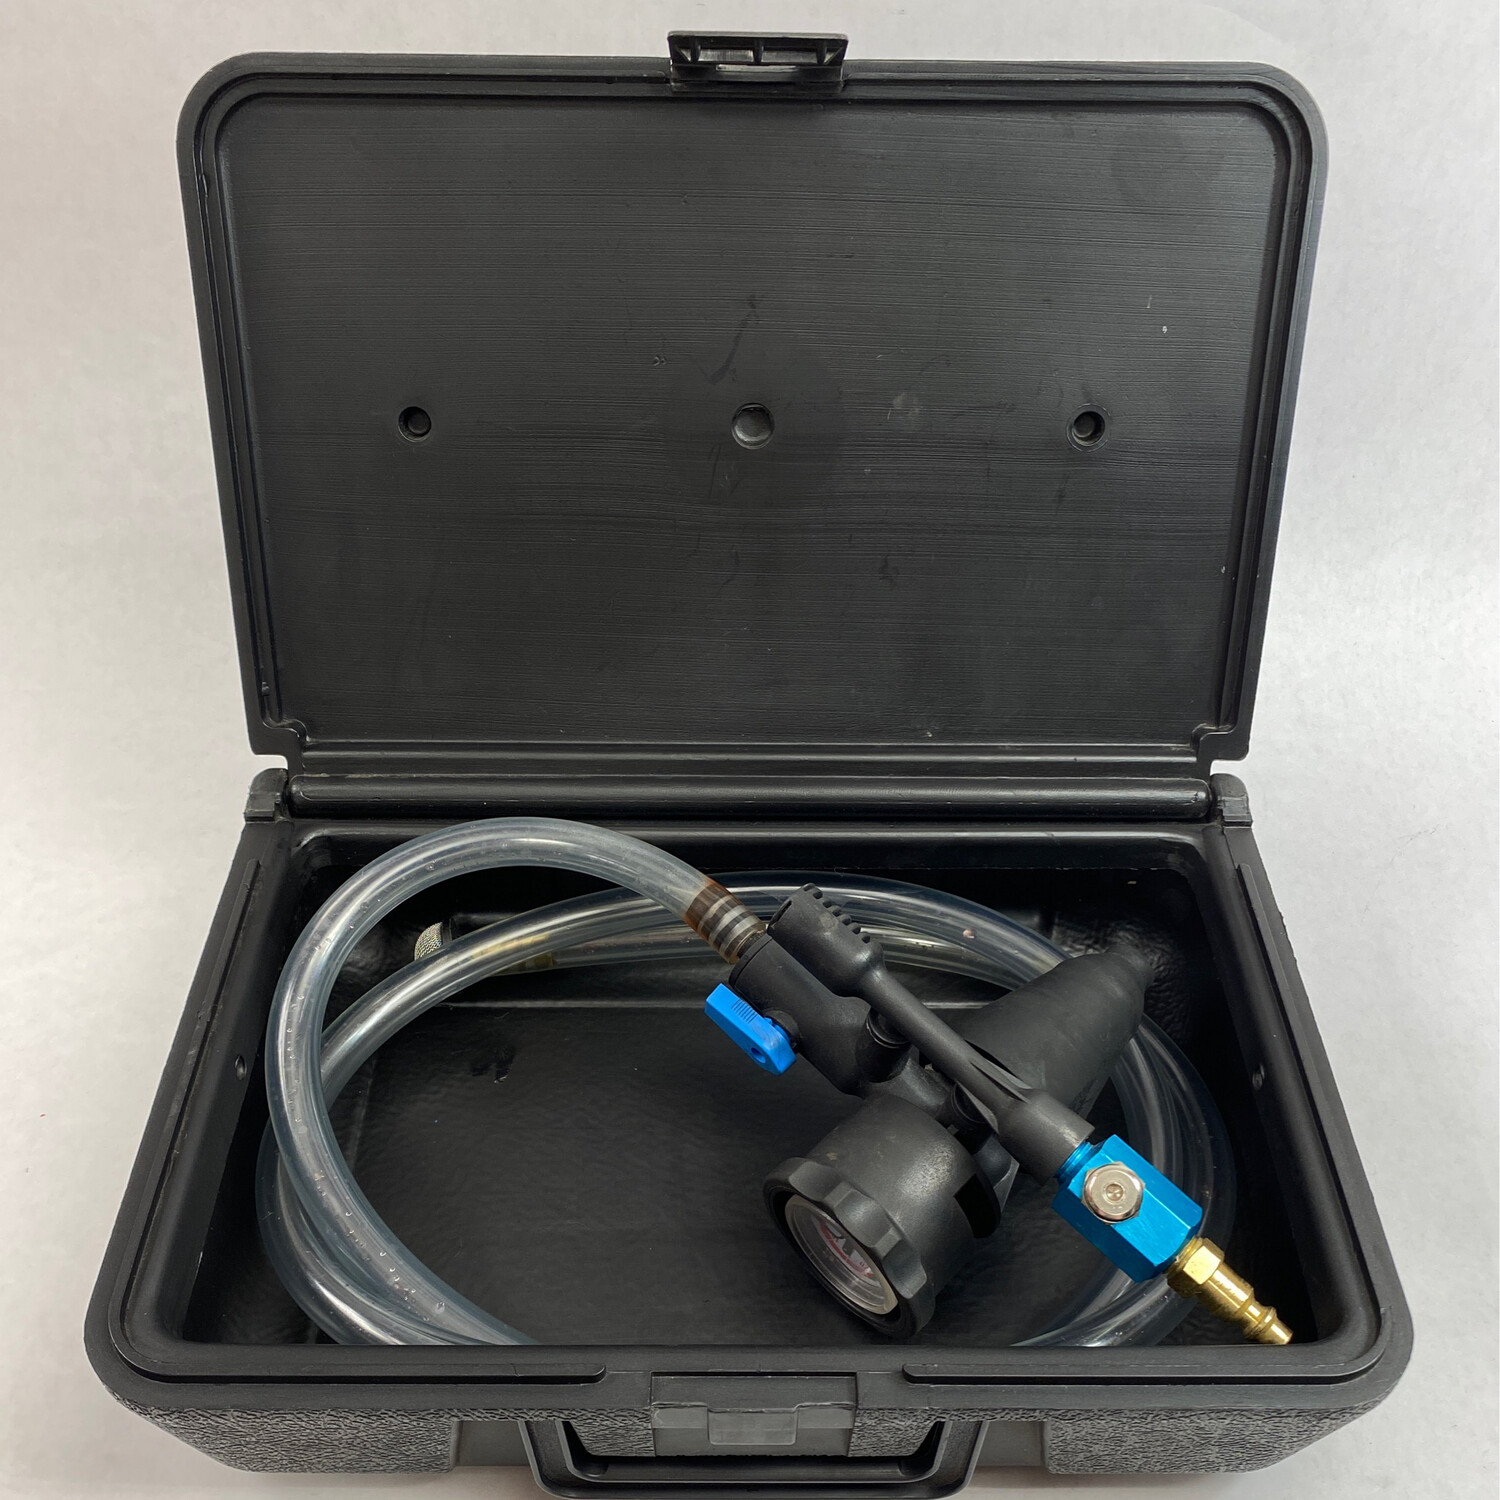
- Radiator Pressure Tester (Optional): To check for leaks after the flush.
- Hose Clamp Pliers (Optional): For removing and installing hose clamps.
Safety Precautions
- Work on a Cool Engine: Never attempt to flush the cooling system while the engine is hot. Allow it to cool down completely to avoid burns.
- Wear Protective Gear: Always wear gloves and eye protection to prevent coolant from contacting your skin or eyes. Coolant can be irritating and toxic.
- Dispose of Coolant Properly: Coolant is harmful to the environment and should not be poured down drains or onto the ground. Check your local regulations for proper disposal methods. Many auto parts stores will accept used coolant for recycling.
- Work in a Well-Ventilated Area: Coolant can release fumes, so work in a well-ventilated area to avoid inhaling them.
- Keep Away from Children and Pets: Coolant has a sweet smell that can attract children and pets. Keep them away from the work area and store coolant in a secure location.
Step-by-Step Guide to Performing a Cooling System Flush
-
Prepare the Vehicle:
- Park the vehicle on a level surface.
- Allow the engine to cool down completely (at least several hours).
- Gather all the necessary tools and materials.
- If desired, use a jack and jack stands to raise the vehicle for easier access to the radiator drain plug.
-
Locate the Radiator Drain Plug (Petcock):
- The drain plug is usually located at the bottom of the radiator, on either the driver’s or passenger’s side.
- It may be a plastic or metal plug with a small knob or screw.
- Consult your vehicle’s service manual if you’re unsure of its location.
-
Drain the Old Coolant:
- Place the drain pan under the radiator drain plug.
- Carefully open the drain plug by turning it counterclockwise. Some plugs may require a wrench or socket.
- Allow the coolant to drain completely into the pan.
- Once the coolant flow slows to a trickle, close the drain plug temporarily.
-
Add Cooling System Flush Chemical (Optional):
- If using a cooling system flush chemical, follow the instructions on the product label.
- Typically, you’ll add the chemical to the radiator and then fill the system with distilled water.
- Replace the radiator cap loosely.
-
Run the Engine:
- Start the engine and let it run for the amount of time specified on the cooling system flush chemical label (usually 10-20 minutes).
- Monitor the engine temperature gauge to ensure it doesn’t overheat.
- Turn on the heater to its highest setting to circulate the cleaner through the heater core.
-
Drain the System Again:
- Turn off the engine and allow it to cool down again.
- Place the drain pan under the radiator drain plug.
- Open the drain plug and allow the system to drain completely.
-
Flush with Distilled Water:
- Close the radiator drain plug tightly.
- Fill the radiator with distilled water.
- Start the engine and let it run for a few minutes to circulate the water.
- Turn off the engine and allow it to cool down.
- Drain the system again.
- Repeat this process until the water draining from the radiator is clear and free of contaminants. This may take several flushes.
-
Prepare the Coolant Mixture:
- Consult your vehicle’s owner’s manual for the correct coolant-to-water ratio. A 50/50 mixture is common, but some vehicles may require a different ratio.
- Mix the coolant and distilled water in a clean container according to the recommended ratio.
-
Fill the Cooling System:
- Close the radiator drain plug tightly.
- Slowly pour the coolant mixture into the radiator, using a funnel to avoid spills.
- Fill the radiator to the "full" mark.
- If your vehicle has a coolant overflow reservoir, fill it to the appropriate level as well.
-
Bleed the System (Remove Air Pockets):
- Air pockets in the cooling system can cause overheating.
- Start the engine and let it run with the radiator cap off (if safe to do so).
- Watch for air bubbles to escape from the radiator opening.
- Gently squeeze the radiator hoses to help dislodge any trapped air.
- As air is released, the coolant level may drop. Add more coolant mixture as needed.
- Once the bubbles stop appearing, replace the radiator cap tightly.
-
Check for Leaks:
- Inspect the radiator hoses, connections, and drain plug for any leaks.
- If you have a radiator pressure tester, use it to pressurize the system and check for leaks.
-
Test Drive and Monitor:
- Take the vehicle for a short test drive and monitor the engine temperature gauge.
- Check the coolant level in the radiator and overflow reservoir after the engine cools down. Add more coolant if needed.
Tips for Success
- Use the Right Coolant: Always use the coolant specified in your vehicle’s owner’s manual. Mixing different types of coolant can cause corrosion and damage to the cooling system.
- Don’t Overfill: Overfilling the cooling system can cause coolant to overflow when the engine heats up.
- Be Patient: Flushing the cooling system can take some time, especially if it’s heavily contaminated. Don’t rush the process.
- Inspect Hoses and Clamps: While you’re working on the cooling system, inspect the hoses and clamps for signs of wear or damage. Replace them if necessary.
- Consult a Professional: If you’re not comfortable performing a cooling system flush yourself, or if you encounter any problems, consult a qualified mechanic.
Conclusion
Performing a cooling system flush is a relatively straightforward maintenance task that can significantly improve your vehicle’s performance and longevity. By following these steps and taking the necessary precautions, you can keep your engine running cool and prevent costly repairs down the road. Regular maintenance, including cooling system flushes, is key to keeping your vehicle in top condition.