A Comprehensive Guide to Installing a Roof Liner in a Classic Car
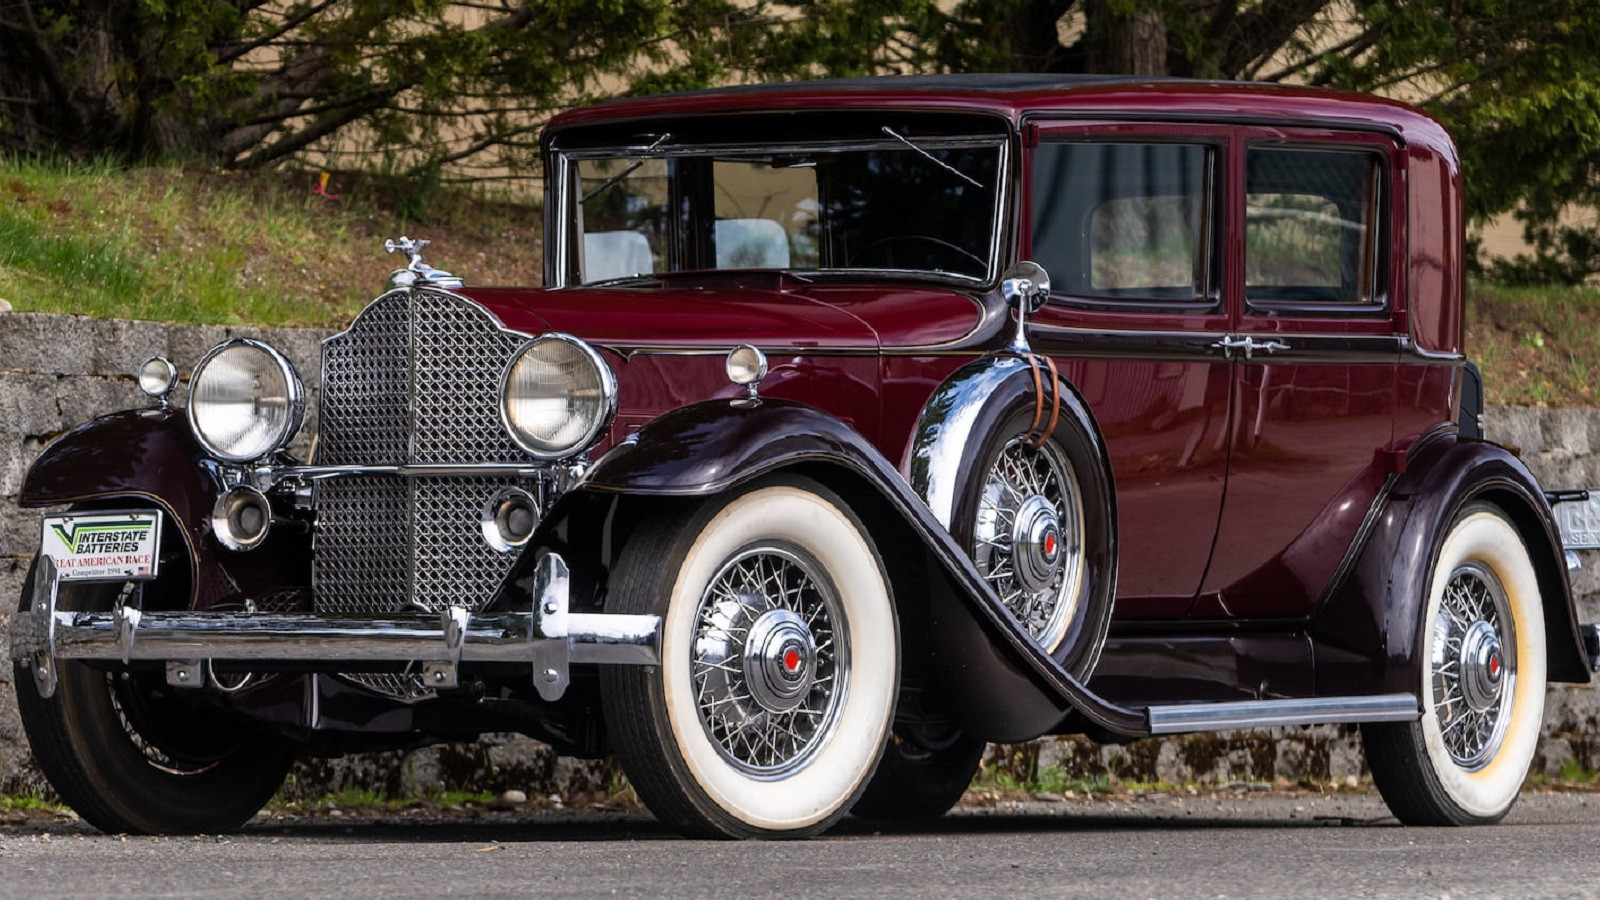
Restoring a classic car is a labor of love, a journey back in time where every detail matters. One of the most transformative aspects of this restoration is replacing the headliner (or roof liner). A fresh headliner can revitalize the interior, enhance the car’s value, and provide a more comfortable and enjoyable driving experience. While the process can seem daunting, with patience and the right approach, it’s a rewarding DIY project.
Understanding the Headliner
The headliner is the fabric covering the interior roof of your car. In classic cars, it often consists of fabric stretched over a series of bows or rods that run across the roof’s width. Over time, the original headliner can sag, tear, become stained, or simply deteriorate due to age and exposure to the elements. Replacing it is a key step in restoring your car’s interior to its former glory.
Why Replace the Headliner?
- Aesthetics: A new headliner dramatically improves the car’s interior appearance, making it look clean, fresh, and well-maintained.
- Value: A properly installed headliner can increase the car’s value, especially if you plan to sell it in the future.
- Comfort: A sagging or damaged headliner can be distracting and uncomfortable. A new headliner provides a smoother, cleaner surface overhead.
- Insulation: The headliner provides a small degree of insulation, helping to regulate the car’s interior temperature and reduce noise.
Tools and Materials You’ll Need
Before you begin, gather the following tools and materials:
- New Headliner: Purchase a headliner specifically designed for your car’s make, model, and year.
- Headliner Adhesive: High-temperature, solvent-based headliner adhesive is crucial. Don’t skimp on quality.
- Headliner Bows (or Rods): Inspect and clean the original bows. Replace any that are bent or damaged.
- Headliner Retaining Clips: These clips hold the headliner in place around the edges. Have replacements on hand, as the originals may be brittle.
- Heat Gun (Optional): A heat gun can help stretch and conform the headliner fabric.
- Spray Bottle with Water: To lightly dampen the fabric for easier stretching.
- Clamps or Spring Clamps: For holding the headliner in place while the adhesive dries.
- Screwdrivers: Various sizes, including flathead and Phillips head, for removing trim pieces.
- Pliers: For manipulating retaining clips and bows.
- Razor Knife or Utility Knife: For trimming excess fabric.
- Scissors: For more delicate trimming.
- Measuring Tape: For accurate placement and trimming.
- Gloves: To protect your hands from adhesive.
- Safety Glasses: To protect your eyes from adhesive fumes and debris.
- Drop Cloths or Plastic Sheeting: To protect the car’s interior.
- Staple Gun (Optional): For securing the headliner to certain areas.
Step-by-Step Installation Guide
-
Preparation:
- Safety First: Disconnect the car’s battery to prevent any electrical shorts.
- Remove Interior Trim: Carefully remove all interior trim pieces that surround the headliner, including visors, dome lights, coat hooks, pillar trim, and any other hardware that could obstruct the headliner.
- Document Everything: Take photos and notes as you disassemble the interior. This will be invaluable when you reassemble everything later.
- Clean the Work Area: Thoroughly vacuum the interior to remove any dirt, dust, and debris.
- Protect the Interior: Cover the seats, dashboard, and other surfaces with drop cloths or plastic sheeting to protect them from adhesive overspray.
-
Remove the Old Headliner:
- Carefully Detach: Gently detach the old headliner from the retaining clips, bows, and any other fasteners.
- Inspect the Bows: As you remove the headliner, note the position of each bow. Label them if necessary.
- Clean the Bows: Clean the bows with a wire brush to remove any rust or debris.
- Inspect the Shell: Check the metal shell of the roof for any rust or damage. Address any issues before proceeding.
-
Install the Bows:
- Follow Your Notes: Refer to your notes and photos to ensure that you install the bows in the correct order and orientation.
- Secure the Bows: Make sure the bows are securely seated in their respective slots or retainers.
-
Position the New Headliner:
- Center the Fabric: Carefully center the new headliner in the car.
- Attach the Center Bow: Starting with the center bow, carefully insert it into the sleeve of the headliner. Gently pull the fabric taut and secure it with clamps or spring clamps.
- Work Outward: Repeat the process for the remaining bows, working outward from the center.
- Adjust as Needed: As you work, make sure the fabric is evenly distributed and free of wrinkles.
-
Adhesive Application:
- Ventilation: Ensure adequate ventilation in your workspace. Open windows and use a fan if necessary.
- Test Spray: Test the adhesive spray pattern on a piece of cardboard before applying it to the headliner.
- Apply Adhesive: Apply a thin, even coat of adhesive to both the headliner fabric and the metal surface of the roof. Follow the adhesive manufacturer’s instructions regarding drying time.
- Work in Sections: Work in small sections at a time to prevent the adhesive from drying out before you can attach the fabric.
- Press Firmly: Once the adhesive is tacky, carefully press the headliner fabric onto the metal surface. Use your hands or a soft roller to smooth out any wrinkles or bubbles.
-
Stretching and Smoothing:
- Use a Heat Gun (Optional): If the fabric is difficult to stretch, use a heat gun to gently warm it. This will make it more pliable.
- Dampen the Fabric (Optional): Lightly misting the fabric with water can also help it stretch more easily.
- Pull and Stretch: Carefully pull and stretch the fabric to remove any wrinkles or sags.
- Secure with Clamps: Use clamps or spring clamps to hold the fabric in place while the adhesive dries.
-
Trimming and Finishing:
- Trim Excess Fabric: Once the adhesive is fully dry, use a razor knife or utility knife to carefully trim away any excess fabric around the edges of the headliner.
- Install Retaining Clips: Install the headliner retaining clips to secure the edges of the headliner to the car’s body.
- Cut Openings: Cut openings in the headliner for dome lights, visors, and other hardware.
-
Reassembly:
- Refer to Your Notes: Use your notes and photos to reassemble the interior trim pieces in the correct order.
- Tighten Fasteners: Tighten all screws and bolts securely.
- Test Functionality: Test the dome lights and other electrical components to ensure they are working properly.
Tips for Success
- Patience is Key: Installing a headliner is a time-consuming process. Don’t rush it.
- Take Your Time: Work carefully and methodically.
- Enlist Help: If possible, enlist the help of a friend or family member.
- Use Quality Materials: Invest in a high-quality headliner and adhesive.
- Follow Instructions: Carefully follow the instructions provided by the headliner and adhesive manufacturers.
- Don’t Be Afraid to Experiment: If you’re not happy with the results, don’t be afraid to try again.
Conclusion
Installing a headliner in a classic car is a challenging but rewarding project. By following these steps and taking your time, you can dramatically improve the interior of your car and restore it to its former glory. Remember to prioritize safety, use quality materials, and be patient. The result will be a beautiful and comfortable interior that you can be proud of.
