Classic Car Engine Bay Cleaning: A Guide to Respectful Restoration
The engine bay of a classic car is more than just a functional space; it’s a window into the past, a testament to engineering prowess, and a reflection of the vehicle’s history. Cleaning it requires a delicate balance: the desire to restore its original luster with the need to protect its unique character. This guide offers a comprehensive approach to cleaning a classic car engine bay, emphasizing safety, preservation, and respect for the vehicle’s heritage.
Understanding the Unique Challenges of Classic Car Engines
Before diving into the cleaning process, it’s essential to recognize the differences between modern and classic car engines:
- Materials: Older engines often feature a mix of materials, including cast iron, aluminum, copper, rubber, and early plastics. Each reacts differently to cleaning agents and requires specific handling.
- Wiring: Classic car wiring can be brittle, frayed, and less insulated than modern wiring. Harsh chemicals and excessive moisture can easily cause shorts or damage.
- Seals and Gaskets: Over time, rubber seals and gaskets in classic engines can dry out and become fragile. Aggressive cleaning can further degrade them, leading to leaks.
- Original Finishes: Many classic car engine components have original paint, plating, or coatings that are difficult or impossible to replicate. The goal is to clean without removing or damaging these finishes.
Preparation is Key
Thorough preparation is crucial for a successful and safe engine bay cleaning:
-
Gather Your Supplies:
- Gentle Cleaning Solutions: A pH-neutral car wash soap, degreaser specifically formulated for classic cars, and mild all-purpose cleaner. Avoid harsh chemicals like bleach, ammonia, or strong solvents.
- Brushes: A variety of brushes, including soft-bristled detailing brushes, long-handled brushes for reaching tight spaces, and brass or nylon brushes for light scrubbing.
- Microfiber Towels: A stack of clean, soft microfiber towels for wiping, drying, and polishing.
- Spray Bottles: For diluting and applying cleaning solutions.
- Painter’s Tape: To protect sensitive areas like wiring connectors, exposed electrical components, and delicate finishes.
- Plastic Bags and Zip Ties: To cover and protect the distributor, alternator, and other electrical components.
- Safety Gear: Gloves, eye protection, and a well-ventilated workspace.
-
Disconnect the Battery:
- This is the most important safety step. Disconnecting the negative terminal prevents electrical shorts and potential damage to the car’s electrical system.
-
Protect Sensitive Areas:
- Carefully cover the distributor, alternator, air intake, and any exposed electrical components with plastic bags and secure them with zip ties.
- Use painter’s tape to protect wiring connectors, fragile vacuum lines, and any areas you want to avoid getting wet.
-
Take Before Photos:
- Documenting the engine bay’s condition before cleaning can be helpful for reference during the process and for comparing the results afterward.
The Cleaning Process: A Step-by-Step Guide
-
Dry Cleaning:
- Start by removing loose debris, leaves, and dirt with a soft brush or vacuum cleaner. Pay attention to crevices and hard-to-reach areas.
- Use compressed air to blow out dust and debris from tight spaces.
-
Degreasing:
- Apply a classic car-specific degreaser to areas with heavy grease and oil buildup. Follow the manufacturer’s instructions for dilution and application.
- Allow the degreaser to dwell for the recommended time, but don’t let it dry.
- Gently agitate the degreaser with a soft-bristled brush to loosen stubborn grime.
-
Washing:
- Mix a solution of pH-neutral car wash soap and water in a spray bottle.
- Lightly mist the engine bay with the soapy water. Avoid soaking the engine, especially electrical components.
- Use a variety of brushes to clean different areas:
- Soft-bristled detailing brushes for delicate surfaces and intricate parts.
- Long-handled brushes for reaching deep into the engine bay.
- Brass or nylon brushes for gently scrubbing stubborn dirt or corrosion on metal parts.
- Rinse thoroughly with a low-pressure stream of water. Avoid using a high-pressure washer, as it can damage seals, wiring, and finishes.
-
Drying:
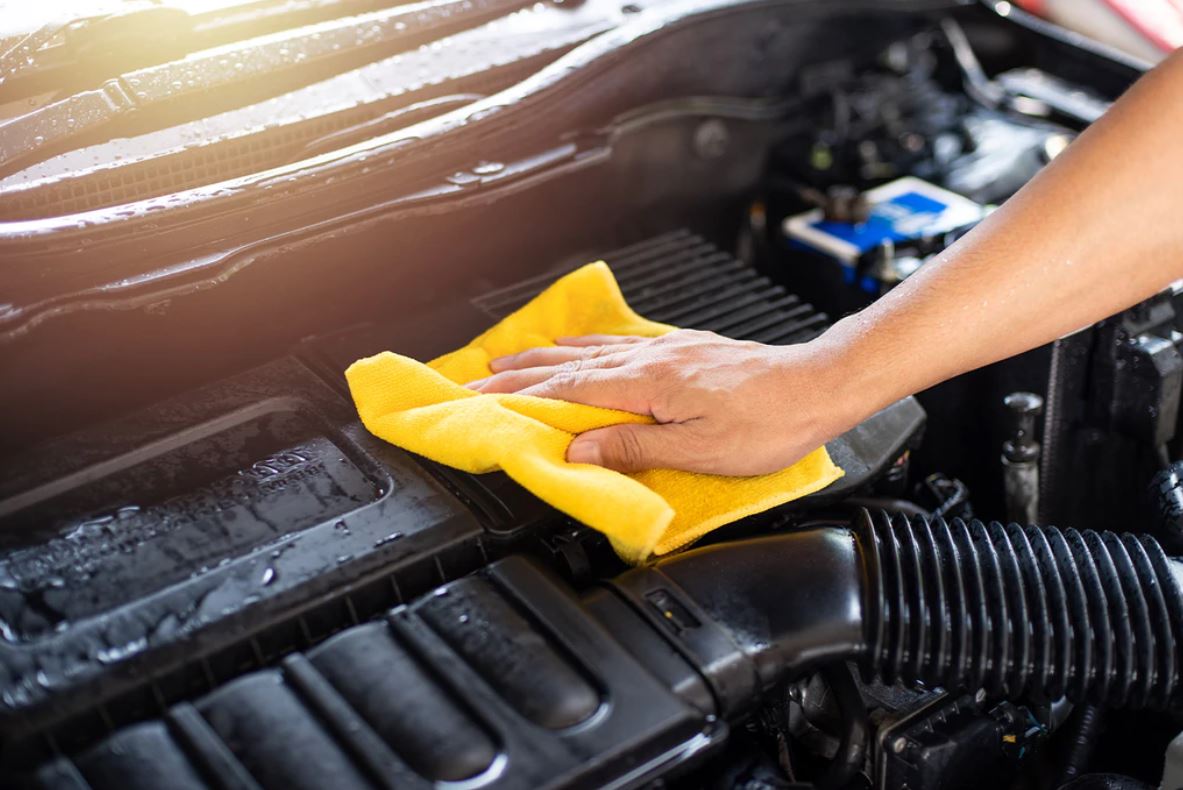
- Use clean microfiber towels to dry all surfaces thoroughly. Pay attention to crevices and areas where water can collect.
- Compressed air can be used to blow water out of tight spaces.
- Allow the engine bay to air dry completely before reconnecting the battery.
-
Detailing and Protecting:
- Once the engine bay is dry, inspect each component for any remaining dirt or grime. Use detailing brushes and a mild all-purpose cleaner to address any problem areas.
- Apply a protectant to rubber hoses, plastic trim, and vinyl surfaces to help prevent cracking and fading.
- Consider using a metal polish to restore the shine to chrome or stainless steel components.
- Inspect wiring for cracks or damage and repair or replace as needed.
- Check fluid levels (oil, coolant, brake fluid, etc.) and top off as necessary.
Important Considerations for Classic Cars
- Originality: Be mindful of preserving the original finishes and markings on engine components. Avoid using abrasive cleaners or techniques that could damage or remove them.
- Corrosion: Address any signs of rust or corrosion promptly. Use a rust converter to neutralize the rust and protect the metal from further damage.
- Wiring: Carefully inspect wiring for cracks, fraying, or deterioration. Replace damaged wiring with period-correct replacements whenever possible.
- Leaks: Check for any signs of oil or coolant leaks. Address any leaks before cleaning to prevent further contamination.
- Patience: Cleaning a classic car engine bay is a time-consuming process. Don’t rush it. Take your time and pay attention to detail.
Aftercare and Maintenance
- Regularly inspect the engine bay for leaks, loose connections, or signs of damage.
- Wipe down surfaces with a damp microfiber towel to remove dust and dirt.
- Apply protectant to rubber and plastic components to keep them looking their best.
- Address any issues promptly to prevent them from becoming more serious.
Conclusion
Cleaning the engine bay of a classic car is a rewarding experience that can enhance the vehicle’s appearance, preserve its value, and provide a deeper connection to its history. By following these guidelines and prioritizing safety, preservation, and respect for the vehicle’s heritage, you can restore your classic car’s engine bay to its former glory while ensuring its long-term health and beauty.
