DIY Car Repair: Simple Fixes You Can Tackle Without Tools
The allure of DIY car repair is undeniable. Saving money on labor costs, understanding your vehicle better, and the satisfaction of a job well done – these are all compelling reasons to get your hands dirty. While some repairs require specialized tools and expertise, there’s a surprising number of tasks you can accomplish with little more than your hands, a bit of ingenuity, and a commitment to safety. This article explores several DIY car repairs that can be performed without specialized tools, focusing on common issues and practical solutions.
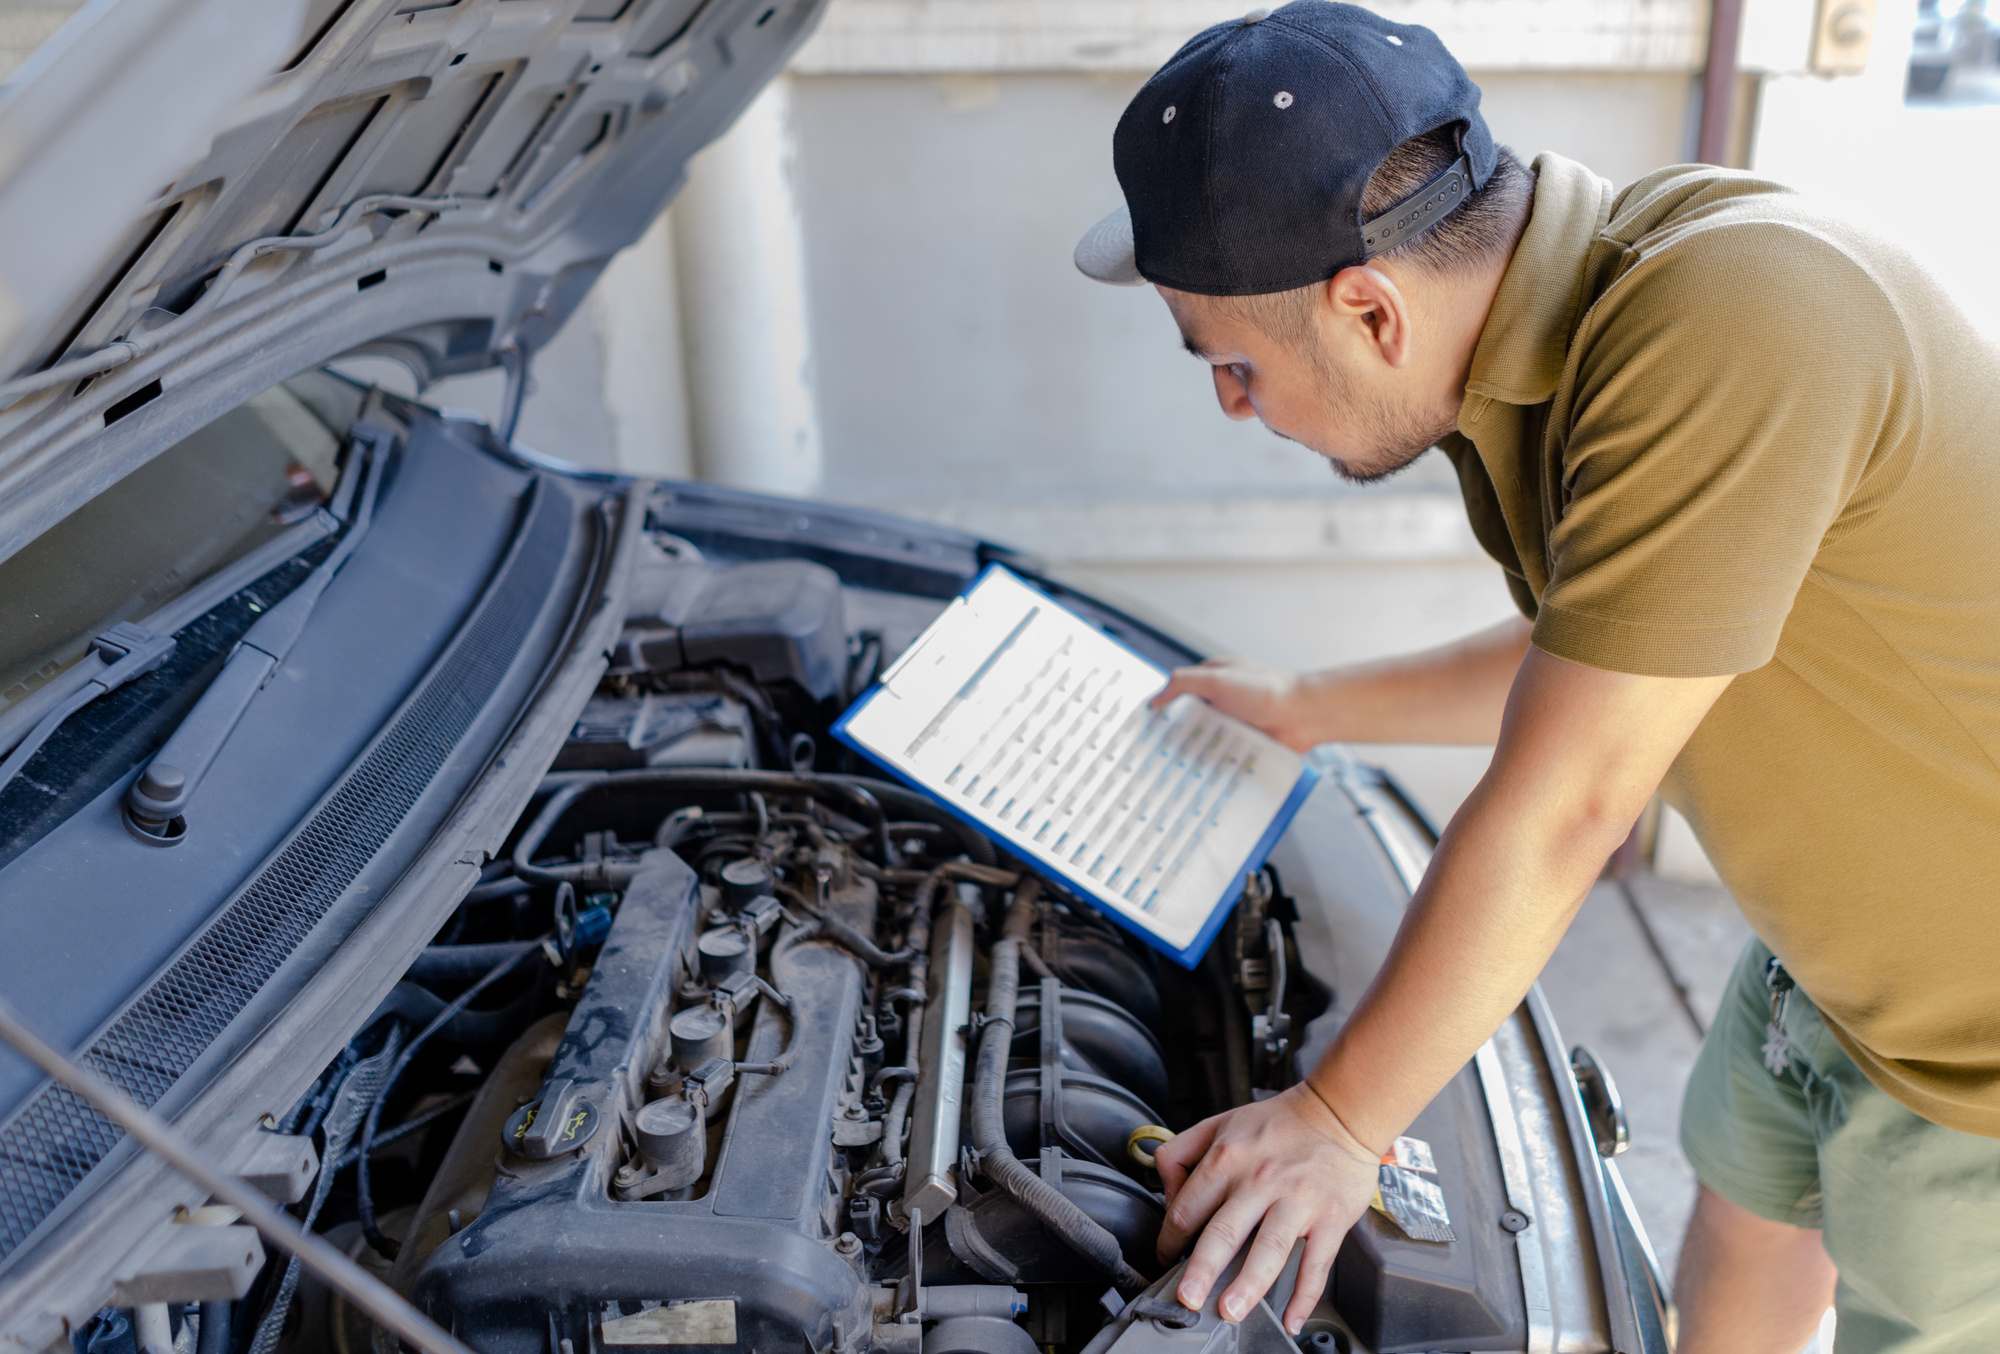
Important Considerations Before You Begin
Before diving into any DIY car repair, even those that seem simple, prioritize safety.
- Read Your Owner’s Manual: Your owner’s manual is a treasure trove of information specific to your vehicle. It will outline basic maintenance procedures, fluid locations, and potential warning signs. Refer to it before attempting any repair.
- Safety First: Wear appropriate clothing, including gloves to protect your hands from dirt and chemicals. If you need to be under the car, always use jack stands on a level surface. Never rely solely on the car jack. Consider wearing safety glasses to protect your eyes from debris.
- Understand Your Limits: If a repair seems beyond your capabilities or comfort level, don’t hesitate to seek professional assistance. It’s better to pay a mechanic than to risk damaging your car or injuring yourself.
- Gather Supplies: While this article focuses on tool-less repairs, having basic supplies on hand is always helpful. These might include:
- Clean rags or paper towels
- Water and soap for cleaning
- Flashlight or headlamp
- WD-40 or a similar lubricant
- Duct tape (for temporary fixes)
- A small container for collecting fluids (if necessary)
Simple DIY Repairs You Can Do Without Tools
Here are several common car issues you can often address without needing to reach for a toolbox:
1. Replacing Windshield Wiper Blades
This is one of the easiest and most common DIY car repairs. Wiper blades are essential for visibility, and worn-out blades can streak and impair your vision, especially in rain or snow.
- Diagnosis: Streaking, skipping, or a generally poor wipe are signs that your wiper blades need replacing.
- Procedure:
- Consult your owner’s manual or an online resource to determine the correct size wiper blades for your vehicle.
- Purchase replacement wiper blades at an auto parts store or online.
- Lift the wiper arm away from the windshield.
- Locate the release mechanism on the old wiper blade. This usually involves a small tab or button that you can press or slide.
- Detach the old wiper blade from the wiper arm.
- Attach the new wiper blade to the wiper arm, ensuring it clicks or locks into place securely.
- Lower the wiper arm back onto the windshield.
- Repeat for the other wiper blade.
- Tips: If the wiper blade is stuck, try gently wiggling it while pressing the release mechanism. Be careful not to force it, as you could damage the wiper arm.
2. Checking and Topping Off Fluids
Maintaining proper fluid levels is crucial for your car’s performance and longevity. You can easily check and top off several fluids without any tools.
- Engine Oil:
- Locate the oil dipstick, usually marked with a yellow or orange handle.
- Pull out the dipstick and wipe it clean with a rag.
- Reinsert the dipstick fully.
- Pull it out again and check the oil level. The level should be between the “min” and “max” marks on the dipstick.
- If the oil level is low, locate the oil filler cap (usually marked with an oil can symbol) and carefully add oil, checking the dipstick frequently until the level is correct. Use the correct type of oil specified in your owner’s manual.
- Windshield Washer Fluid:
- Locate the windshield washer fluid reservoir, usually marked with a windshield symbol.
- Open the reservoir cap and check the fluid level.
- If the level is low, add windshield washer fluid until it reaches the fill line.
- Coolant (Radiator Fluid):
- Important: Never open the radiator cap when the engine is hot, as the system is pressurized and can cause severe burns.
- Locate the coolant reservoir (usually a translucent plastic container).
- Check the coolant level in the reservoir. It should be between the “min” and “max” marks.
- If the level is low, add the correct type of coolant (usually a 50/50 mix of coolant and distilled water) until it reaches the fill line.
- Brake Fluid:
- Locate the brake fluid reservoir, usually located near the back of the engine bay, close to the brake master cylinder. The cap is usually labeled with a brake warning symbol.
- Check the fluid level in the reservoir. It should be between the “min” and “max” marks.
- If the level is low, add the correct type of brake fluid until it reaches the fill line.
3. Inspecting and Replacing Light Bulbs (Headlights, Taillights, and Interior Lights)
A burnt-out light bulb can be a safety hazard and, in some cases, illegal. Replacing them is often a straightforward process.
- Diagnosis: Check your headlights, taillights, brake lights, and turn signals regularly. If any are not working, the bulb likely needs replacing.
- Procedure:
- Consult your owner’s manual to determine the correct type of bulb for the light you need to replace.
- Purchase a replacement bulb at an auto parts store or online.
- Access the bulb housing. This may involve removing a cover or panel, which can usually be done by hand or with a small screwdriver (though the screwdriver may be avoided if possible).
- Remove the old bulb. This usually involves twisting or pulling it out of its socket.
- Insert the new bulb into the socket, ensuring it is properly aligned.
- Replace the cover or panel.
- Test the light to ensure it is working correctly.
- Tips: Be careful not to touch the glass part of the new bulb with your bare hands, as the oils from your skin can shorten its lifespan. Use a clean cloth or gloves to handle the bulb.
4. Checking Tire Pressure
Maintaining proper tire pressure is essential for fuel efficiency, handling, and tire life.
- Procedure:
- Locate the recommended tire pressure for your vehicle. This is usually found on a sticker on the driver’s side doorjamb or in your owner’s manual.
- Use a tire pressure gauge to check the pressure in each tire.
- If the pressure is too low, add air using an air compressor at a gas station or your home.
- If the pressure is too high, release air by pressing on the valve stem.
- Recheck the pressure after adding or releasing air.
5. Minor Interior Cleaning
Keeping your car’s interior clean can improve your driving experience and maintain its value.
- Procedure:
- Remove any loose trash or debris from the car.
- Vacuum the seats, carpets, and floor mats (if you have access to a vacuum cleaner).
- Wipe down the dashboard, console, and door panels with a damp cloth.
- Clean the windows and mirrors with a glass cleaner.
6. Resetting the Check Engine Light (Sometimes)
While a persistent check engine light warrants professional diagnosis, sometimes it can be triggered by a minor, temporary issue. Disconnecting the car battery might reset the light, but it’s not a guaranteed solution and should only be attempted as a last resort after you’ve addressed any obvious potential issues.
- Procedure:
- Locate the negative (-) terminal of your car battery.
- Loosen the nut on the negative terminal clamp (you might need a wrench for this, but sometimes it can be loosened by hand).
- Carefully disconnect the negative terminal cable from the battery.
- Wait for 15-20 minutes.
- Reconnect the negative terminal cable to the battery and tighten the nut.
- Start your car and see if the check engine light is off.
Important Note: Resetting the check engine light will erase any stored diagnostic codes. If the underlying problem persists, the light will likely come back on. It’s always best to have a professional diagnose the issue.
Conclusion
While some car repairs require specialized tools and expertise, there are many simple tasks you can accomplish without them. By following these tips and prioritizing safety, you can save money on labor costs, learn more about your vehicle, and gain a sense of accomplishment. However, always remember to assess your abilities honestly and seek professional assistance when necessary. Happy wrenching!
