Illuminate Your Ride: A Complete Guide to Installing Underglow Lights on Your Car
Underglow lights, also known as neon or LED underbody lights, are a popular way to customize your car and add a touch of personality. These vibrant lights create a captivating visual effect, making your vehicle stand out, especially at night. However, installing underglow lights requires some technical knowledge and patience. This comprehensive guide will walk you through the process step by step, ensuring a successful and safe installation.
Before You Begin: Important Considerations
- Legality: Before you even think about buying underglow lights, research the legality of underglow in your state, province, or country. Some jurisdictions have restrictions on the colors allowed, brightness levels, or even outright bans. Ignoring these regulations could result in fines or your car failing inspection.
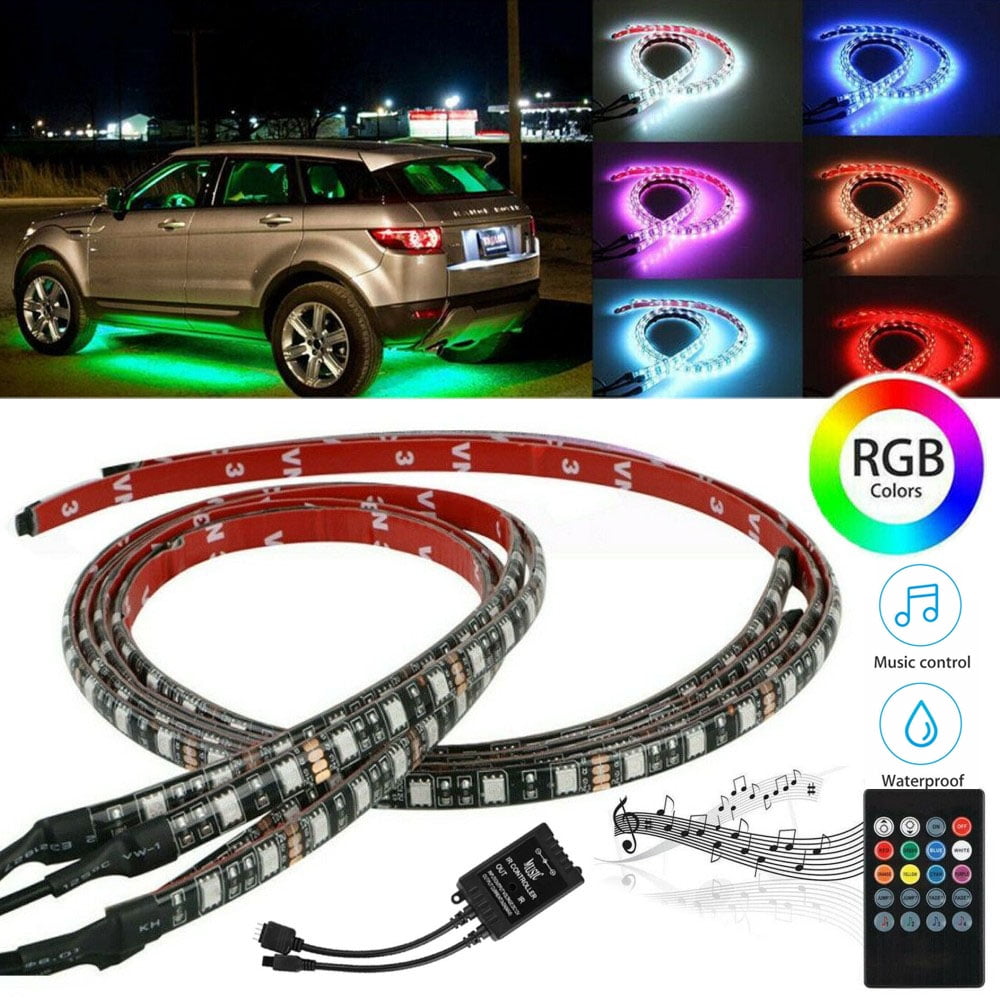
- Kit Selection: Choose a high-quality underglow kit that is designed for automotive use. Look for kits with waterproof components, durable construction, and a reliable control system. LED kits are generally preferred over neon due to their longer lifespan, lower power consumption, and greater color options.
- Tools and Materials: Gather all the necessary tools and materials before you start. This will save you time and frustration during the installation process.
- Safety First: Always disconnect the negative terminal of your car’s battery before working on any electrical components. This will prevent accidental short circuits and potential injuries.
Tools and Materials You’ll Need
- Underglow light kit (with LED strips, control box, wiring, and mounting hardware)
- Jack and jack stands
- Wheel chocks
- Drill with various drill bits
- Screwdrivers (Phillips and flathead)
- Wire stripper/crimper
- Electrical tape or heat shrink tubing
- Wire connectors (butt connectors, spade connectors, etc.)
- Zip ties
- Multimeter (optional, but highly recommended)
- Safety glasses
- Gloves
- Cleaning supplies (degreaser, microfiber cloths)
Step-by-Step Installation Guide
-
Preparation is Key:
- Park your car on a level surface and engage the parking brake.
- Place wheel chocks behind the rear wheels for added safety.
- Use the jack to lift your car and securely place it on jack stands. Never work under a car supported only by a jack.
- Disconnect the negative terminal of your car’s battery.
-
Planning and Layout:
- Before you start mounting anything, take some time to plan the layout of your underglow lights.
- Hold the LED strips under the car to determine the best placement.
- Consider factors such as visibility, protection from road debris, and ease of wiring.
- Ensure that the lights are evenly spaced and will provide a balanced glow.
- Mark the desired locations for the LED strips and any mounting brackets.
-
Cleaning and Preparation:
- Clean the undercarriage of your car thoroughly, especially in the areas where you will be mounting the LED strips.
- Use a degreaser to remove any grease, dirt, or grime.
- This will ensure a strong and secure bond for the mounting hardware.
- Dry the surfaces completely before proceeding.
-
Mounting the LED Strips:
- Most underglow kits come with mounting brackets or adhesive strips.
- If using brackets, drill pilot holes at the marked locations and secure the brackets with screws.
- If using adhesive strips, peel off the backing and carefully press the LED strips onto the clean, dry surface.
- Ensure that the strips are securely attached and will not come loose during driving.
- Pay attention to the orientation of the LED strips. They should be facing downwards to project the light onto the ground.
-
Wiring the LED Strips:
- Route the wires from the LED strips to the control box location.
- The control box is typically mounted in the engine bay or under the dashboard.
- Use zip ties to secure the wires and keep them away from moving parts, hot surfaces, or sharp edges.
- If necessary, drill small holes to pass the wires through the car’s body panels. Be sure to use rubber grommets to protect the wires from chafing.
- Connect the wires to the control box according to the manufacturer’s instructions.
- Use wire strippers and crimpers to make secure and reliable connections.
- Use wire connectors (butt connectors, spade connectors, etc.) to connect the wires.
- Cover the connections with electrical tape or heat shrink tubing to protect them from moisture and corrosion.
-
Connecting to the Power Source:
- Locate a suitable power source in your car’s electrical system.
- Most underglow kits require a 12V power source.
- You can tap into an existing circuit, such as the parking lights or the cigarette lighter, or run a new wire directly from the battery.
- If tapping into an existing circuit, use a fuse tap to avoid damaging the original wiring.
- If running a new wire from the battery, use an inline fuse to protect the circuit from overloads.
- Connect the power wire to the control box according to the manufacturer’s instructions.
- Connect the ground wire to a solid grounding point on the car’s chassis.
-
Testing and Adjustments:
- Reconnect the negative terminal of your car’s battery.
- Turn on the underglow lights to test the installation.
- Check that all the LED strips are working properly and that the colors are correct.
- If any of the lights are not working, check the wiring connections and the power source.
- Adjust the brightness and color settings using the control box or the remote control.
-
Final Touches:
- Double-check all the wiring connections and make sure they are secure.
- Use zip ties to tidy up any loose wires.
- Lower the car back to the ground.
- Take your car for a test drive to ensure that the underglow lights are working properly and that they are not interfering with the car’s operation.
Tips and Tricks for a Professional Installation
- Use a Multimeter: A multimeter can be a valuable tool for troubleshooting electrical problems. It can be used to check the voltage, current, and resistance of the circuits.
- Solder Connections: For the most reliable and durable connections, consider soldering the wires together instead of using crimp connectors.
- Protect the Wires: Use wire loom or split tubing to protect the wires from abrasion and heat.
- Hide the Wires: Try to conceal the wires as much as possible to create a clean and professional look.
- Consider a Remote Control: A remote control allows you to turn the underglow lights on and off from a distance, and also to change the colors and patterns.
- Use a Professional Installer: If you are not comfortable working with electrical systems, consider hiring a professional installer to do the job for you.
Troubleshooting Common Issues
- Lights Not Working: Check the power source, the wiring connections, and the control box.
- Flickering Lights: This could be caused by a loose connection or a faulty control box.
- Dim Lights: This could be caused by a low voltage or a poor ground connection.
- Colors Not Correct: Check the wiring connections and the control box settings.
Maintenance
- Regularly inspect the underglow lights for any damage or loose connections.
- Clean the LED strips with a soft cloth to remove any dirt or debris.
- Protect the control box from moisture and extreme temperatures.
Conclusion
Installing underglow lights on your car can be a rewarding project that adds a unique and personalized touch to your vehicle. By following this comprehensive guide and taking the necessary precautions, you can achieve a professional-looking installation that will turn heads wherever you go. Remember to always prioritize safety and to consult the manufacturer’s instructions for your specific underglow kit. Enjoy your newly illuminated ride!
