Restoring Clarity: A Comprehensive Guide to Cleaning Your Headlights at Home
Cloudy, yellowed headlights aren’t just an aesthetic issue; they significantly reduce your visibility on the road, especially at night or in poor weather conditions. Over time, the protective coating on headlight lenses degrades due to UV exposure, road debris, and environmental pollutants. This degradation causes oxidation, leading to that hazy, opaque look.
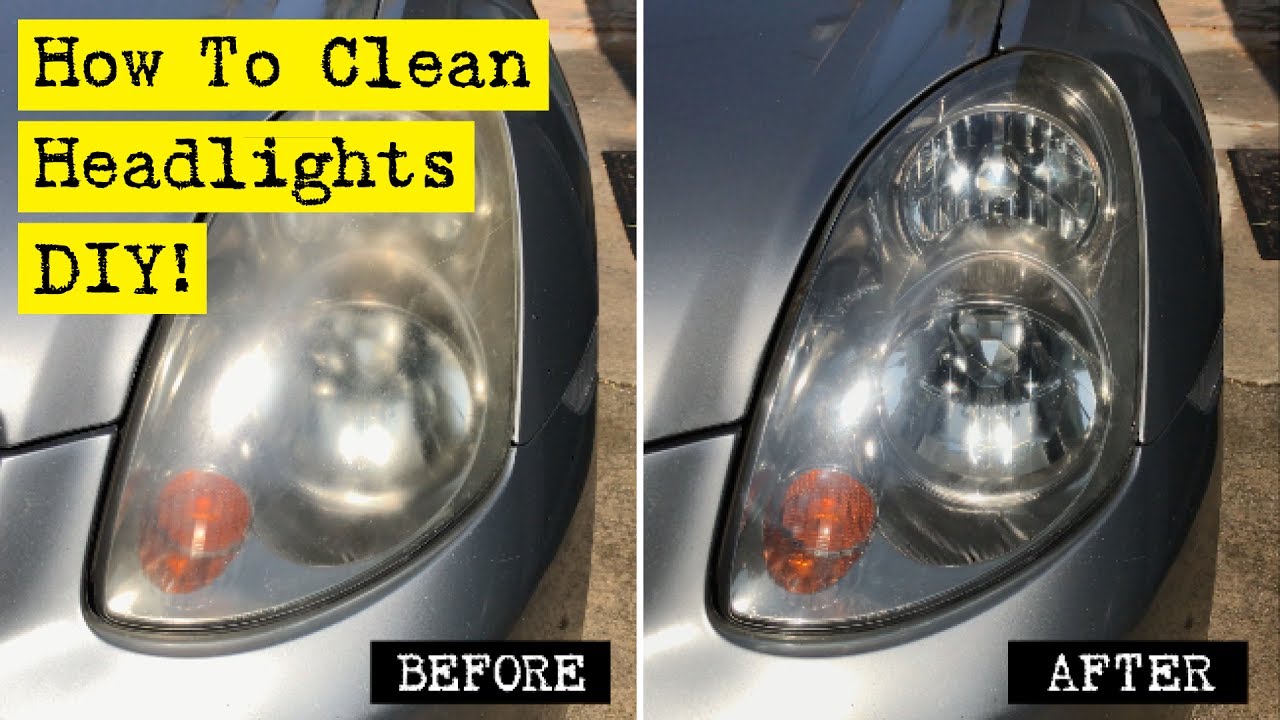
Fortunately, you don’t always need to replace your headlights to restore their clarity. With the right tools and a bit of elbow grease, you can clean them effectively at home, saving money and improving your driving safety. This comprehensive guide will walk you through several methods, from basic cleaning to more intensive restoration.
Why Clean Your Headlights? The Benefits of Clear Vision
Before we dive into the how-to, let’s emphasize why cleaning your headlights is essential:
- Improved Visibility: Clear headlights project a brighter, more focused beam, allowing you to see further and react faster to potential hazards.
- Enhanced Safety: Reduced glare for oncoming drivers and better visibility for you make nighttime driving safer for everyone.
- Aesthetic Appeal: Clean headlights instantly improve the overall appearance of your vehicle, making it look newer and more well-maintained.
- Cost Savings: Cleaning your headlights is far cheaper than replacing them, especially if you can do it yourself.
- Extended Headlight Lifespan: By removing the buildup and oxidation, you can potentially prolong the life of your headlights.
Understanding the Problem: Oxidation and UV Damage
The outer layer of most headlight lenses is made of polycarbonate plastic coated with a UV-protective layer. Over time, this coating breaks down due to:
- Ultraviolet (UV) Radiation: Sunlight is the primary culprit. UV rays degrade the plastic and the protective coating.
- Road Debris: Sand, rocks, and other debris chip away at the lens surface, creating microscopic scratches.
- Chemical Exposure: Car wash soaps, road salts, and other chemicals can accelerate the degradation process.
- Temperature Fluctuations: Extreme temperature changes can cause the plastic to expand and contract, leading to stress and cracking.
Essential Tools and Materials
Regardless of the method you choose, you’ll need some basic supplies:
- Cleaning Supplies:
- Microfiber cloths (several)
- Car wash soap or mild detergent
- Water (clean and plentiful)
- Masking tape (automotive-grade)
- Safety Gear:
- Gloves (to protect your hands from chemicals)
- Eye protection (safety glasses or goggles)
- Optional:
- Spray bottle
- Heat gun or hairdryer (for some methods)
Cleaning Methods: From Simple to Advanced
Here’s a breakdown of several methods, ranging from the simplest to the more involved, along with detailed instructions for each:
1. Soap and Water (Basic Cleaning)
This method is best for headlights with only minor surface dirt or grime.
- Steps:
- Wash the Headlights: Use car wash soap and water to remove any loose dirt or debris. Rinse thoroughly.
- Dry the Headlights: Use a clean microfiber cloth to dry the headlights completely.
- Inspect: Check if this basic cleaning improved the clarity. If not, move on to a more intensive method.
2. Baking Soda Paste (Mild Oxidation)
Baking soda is a mild abrasive that can help remove light oxidation.
- Steps:
- Prepare the Paste: Mix baking soda with water to create a thick paste.
- Apply the Paste: Apply the paste to the headlight lens, covering the entire surface.
- Scrub Gently: Using a clean microfiber cloth, gently scrub the lens in a circular motion for several minutes.
- Rinse Thoroughly: Rinse the lens with water, removing all traces of the baking soda paste.
- Dry: Dry the lens with a clean microfiber cloth.
- Inspect: If the results are satisfactory, apply a UV protectant (see below). If not, try a more aggressive method.
3. Toothpaste (Moderate Oxidation)
Toothpaste contains mild abrasives that can polish the headlight lens.
- Steps:
- Tape Around the Headlight: Use masking tape to protect the surrounding paint.
- Apply Toothpaste: Apply a generous amount of non-gel toothpaste to the headlight lens.
- Scrub Vigorously: Using a clean microfiber cloth, scrub the lens in a circular motion for several minutes. Apply moderate pressure.
- Rinse Thoroughly: Rinse the lens with water, removing all traces of toothpaste.
- Dry: Dry the lens with a clean microfiber cloth.
- Inspect: If the results are satisfactory, apply a UV protectant (see below). If not, try a more aggressive method.
4. Wet Sanding (Severe Oxidation)
Wet sanding is the most effective method for removing heavy oxidation, but it requires more skill and patience. You’ll need various grits of sandpaper.
-
Materials:
- Masking tape
- Spray bottle with water
- Sandpaper (400 grit, 600 grit, 800 grit, 1000 grit, 2000 grit, 3000 grit)
- Polishing compound
- Buffing pad
- Drill or rotary tool (optional)
-
Steps:
- Tape Around the Headlight: Use masking tape to protect the surrounding paint.
- Wet Sanding (400 Grit): Soak the 400-grit sandpaper in water for a few minutes. Spray the headlight lens with water. Gently sand the lens in a horizontal motion, keeping the sandpaper and lens wet. Apply even pressure.
- Wet Sanding (600 Grit): Repeat the process with the 600-grit sandpaper, sanding in the opposite direction (vertical).
- Wet Sanding (800 Grit): Repeat the process with the 800-grit sandpaper, sanding in the horizontal direction.
- Wet Sanding (1000 Grit): Repeat the process with the 1000-grit sandpaper, sanding in the vertical direction.
- Wet Sanding (2000 Grit): Repeat the process with the 2000-grit sandpaper, sanding in the horizontal direction.
- Wet Sanding (3000 Grit): Repeat the process with the 3000-grit sandpaper, sanding in the vertical direction.
- Rinse and Dry: Rinse the lens thoroughly with water and dry with a clean microfiber cloth.
- Apply Polishing Compound: Apply a small amount of polishing compound to the lens.
- Polish the Lens: Use a clean buffing pad (attached to a drill or rotary tool if available) to polish the lens. Apply moderate pressure and work in a circular motion.
- Clean and Inspect: Wipe off any remaining polishing compound with a clean microfiber cloth. Inspect the lens for clarity.
- Apply UV Protectant: Apply a UV protectant (see below).
Protecting Your Work: Applying a UV Protectant
Once you’ve cleaned your headlights, it’s crucial to protect them from future oxidation. Here are some options:
- UV-Resistant Clear Coat: This is the most durable option, providing a long-lasting protective layer. Follow the manufacturer’s instructions carefully.
- Headlight Sealant: These sealants create a barrier against UV rays and other environmental factors. Apply them according to the product instructions.
- Car Wax: Applying a high-quality car wax can provide some temporary protection, but it will need to be reapplied regularly.
Important Tips and Considerations
- Work in a Shaded Area: Avoid cleaning your headlights in direct sunlight, as this can cause the cleaning products to dry too quickly.
- Protect Your Car’s Paint: Use masking tape to protect the paint around the headlights.
- Use Clean Materials: Always use clean microfiber cloths and applicators to avoid scratching the lens.
- Be Patient: Cleaning headlights can be time-consuming, especially if you’re using the wet sanding method. Take your time and follow the instructions carefully.
- Consider Professional Help: If you’re not comfortable cleaning your headlights yourself, or if the oxidation is severe, consider taking your car to a professional detailer.
Conclusion
Cleaning your headlights at home is a worthwhile investment of your time and effort. By following these steps and using the right tools, you can restore clarity to your headlights, improve your driving safety, and enhance the appearance of your vehicle. Remember to choose the method that best suits the condition of your headlights and always protect your work with a UV protectant to ensure long-lasting results.
