Revive the Road: A Comprehensive Guide to Making Your Old Car Look Brand New
Let’s face it: our cars are more than just modes of transportation. They’re companions on countless journeys, holders of memories, and extensions of our personalities. But time and the elements can take a toll, leaving your once-gleaming chariot looking a little worse for wear. Fear not! With the right approach and a bit of elbow grease, you can transform your aging automobile into a head-turning beauty that rivals its showroom glory.
I. Assessment: The First Step to Transformation
Before diving in, take a thorough look at your car. This assessment will help you prioritize tasks and determine the products and tools you’ll need. Consider these key areas:
- Exterior Paint: Scratches, swirl marks, fading, rust spots? Note the severity of the damage.
- Body: Dents, dings, misaligned panels? These may require professional attention.
- Wheels and Tires: Curb rash, brake dust buildup, worn tire treads?
- Glass: Chips, cracks, water spots?
- Interior: Stains, tears, worn upholstery, musty odors?
- Trim and Moldings: Faded, cracked, or loose?
II. Exterior Revival: A Layer-by-Layer Approach
The exterior is the first thing people see, so it’s crucial to make a strong impression.
-
The Ultimate Wash:
- Pre-Rinse: Use a pressure washer or garden hose to remove loose dirt and debris.
- Two-Bucket Method: Fill one bucket with car wash soap and water, and the other with clean water for rinsing your wash mitt. This prevents reintroducing dirt onto the paint.
- Gentle Scrubbing: Use a microfiber wash mitt to gently scrub the car, starting from the top and working your way down.
- Wheel Cleaning: Use a separate brush and wheel cleaner to remove brake dust and grime from the wheels.
- Thorough Rinse: Rinse the car thoroughly with clean water.
- Drying: Use a microfiber drying towel or a leaf blower to dry the car completely, preventing water spots.
-
Paint Correction: Erasing Imperfections
- Clay Bar Treatment: Use a clay bar to remove embedded contaminants from the paint surface, leaving it smooth and ready for polishing.
- Polishing: Use a dual-action polisher with a polishing pad and compound to remove swirl marks, light scratches, and oxidation. Start with a less aggressive polish and pad, and work your way up if needed.
- Compounding (If Necessary): For deeper scratches, you may need to use a more aggressive compound before polishing. Use caution and test a small area first.
-
Protection: Sealing the Deal
- Waxing or Sealing: Apply a coat of wax or sealant to protect the paint from UV rays, water, and other elements. Wax provides a deep shine, while sealant offers longer-lasting protection.
- Ceramic Coating (Optional): For the ultimate protection and shine, consider a ceramic coating. This provides years of protection and makes washing the car much easier.
- Trim Restoration: Use a trim restorer to bring faded trim back to its original color.
- Headlight Restoration: Over time, headlights can become cloudy and yellowed. Use a headlight restoration kit to restore clarity and improve visibility.
-
Wheel and Tire TLC:
- Thorough Cleaning: Use a wheel cleaner and brush to remove any remaining brake dust and grime.
- Tire Shine: Apply tire shine to give your tires a glossy, new look.
- Wheel Polishing (Optional): If your wheels are metal, you can polish them to remove oxidation and restore their shine.
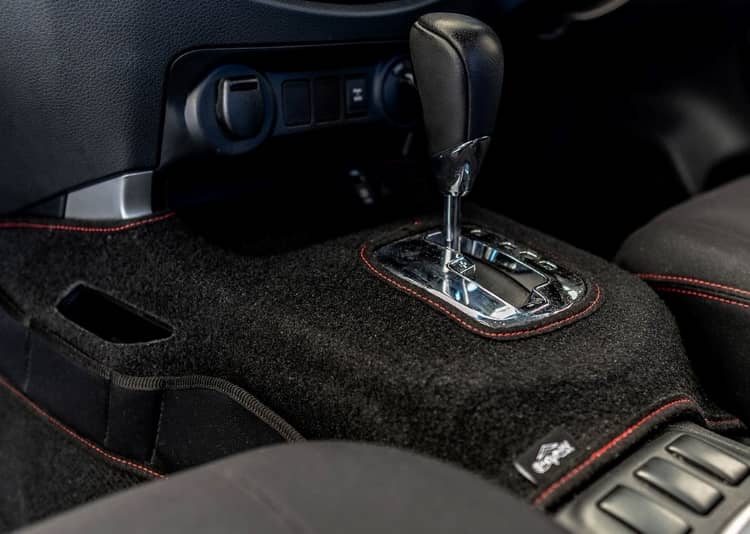
III. Interior Transformation: A Breath of Fresh Air
The interior is where you spend most of your time, so making it clean and comfortable is essential.
-
Deep Cleaning:
- Vacuuming: Vacuum the entire interior, including carpets, seats, and crevices.
- Carpet and Upholstery Cleaning: Use a carpet and upholstery cleaner to remove stains and odors. For tough stains, consider using a steam cleaner.
- Leather Conditioning: If your car has leather seats, use a leather conditioner to keep them soft and supple.
- Dashboard and Trim Cleaning: Use an interior cleaner to clean the dashboard, door panels, and other trim pieces.
- Window Cleaning: Clean the windows inside and out with a glass cleaner.
-
Odor Elimination:
- Air Freshener: Use an air freshener to eliminate odors and leave your car smelling fresh.
- Ozone Generator (Optional): For stubborn odors, consider using an ozone generator. This will kill bacteria and eliminate odors at the source.
-
Detailing Touches:
- New Floor Mats: Replace old, worn floor mats with new ones.
- Steering Wheel Cover: Add a steering wheel cover for comfort and style.
- Seat Covers (Optional): If your seats are badly damaged, consider using seat covers to protect them and improve the appearance of the interior.
IV. Mechanical Maintenance: The Heart of the Matter
While aesthetics are important, a car that runs well is just as crucial.
-
Fluid Checks and Changes:
- Oil Change: Change the engine oil and filter according to the manufacturer’s recommendations.
- Coolant Flush: Flush the cooling system and replace the coolant.
- Brake Fluid Flush: Flush the brake fluid to remove moisture and contaminants.
- Power Steering Fluid Flush: Flush the power steering fluid to ensure smooth steering.
- Transmission Fluid Change: Change the transmission fluid to keep the transmission running smoothly.
-
Tune-Up:
- Spark Plugs: Replace the spark plugs to improve engine performance.
- Air Filter: Replace the air filter to ensure proper airflow to the engine.
- Fuel Filter: Replace the fuel filter to prevent fuel contamination.
-
Brake Inspection:
- Brake Pads and Rotors: Inspect the brake pads and rotors and replace them if necessary.
- Brake Lines: Inspect the brake lines for leaks or damage.
V. The Finishing Touches: Attention to Detail
It’s the little things that often make the biggest difference.
- Replace Worn Wiper Blades: Ensure clear visibility in all weather conditions.
- Touch Up Paint Chips: Use touch-up paint to cover small paint chips and prevent rust.
- Replace Missing or Broken Emblems: Restore the car’s original appearance.
- Clean and Polish Chrome Trim: Make your chrome sparkle like new.
- Recondition Rubber Seals: Keep your doors and windows sealed tight.
VI. Professional Help: Knowing When to Call In the Experts
Some tasks are best left to the professionals. Consider seeking professional help for:
- Major Bodywork: Dents, rust repair, and panel replacement.
- Paint Matching and Refinishing: Achieving a flawless paint finish.
- Upholstery Repair: Repairing tears and damage to seats and other interior surfaces.
- Mechanical Repairs: Complex engine or transmission repairs.
VII. Maintaining the New Look: Long-Term Care
Once you’ve transformed your old car, it’s important to maintain its new look with regular care.
- Wash Regularly: Wash your car at least once a week to remove dirt and grime.
- Wax or Seal Periodically: Apply wax or sealant every few months to protect the paint.
- Clean the Interior Regularly: Vacuum and clean the interior regularly to prevent dirt and stains from building up.
- Address Problems Promptly: Fix any problems as soon as they arise to prevent them from becoming worse.
By following these steps, you can transform your old car into a vehicle that looks and feels brand new. It’s an investment of time and effort, but the results are well worth it. Not only will you have a car you can be proud of, but you’ll also extend its life and value. So, grab your tools, roll up your sleeves, and get ready to revive the road!